Shadow studies are essential for analyzing daylight, solar exposure, and seasonal microclimates in any building project. Whether you’re presenting design options to clients, reviewing site conditions, or preparing diagrams for planning submissions, an interactive 3D shadow study communicates building massing and light behavior far better than static 2D drawings.
In this tutorial, I’ll walk you through how to create a complete solar and shadow diagram using ArchiDiagram App—from exporting your SketchUp model to setting up real-world coordinates, dialing in material transparency, and exporting publication-ready visuals.
Completed Diagram Preview
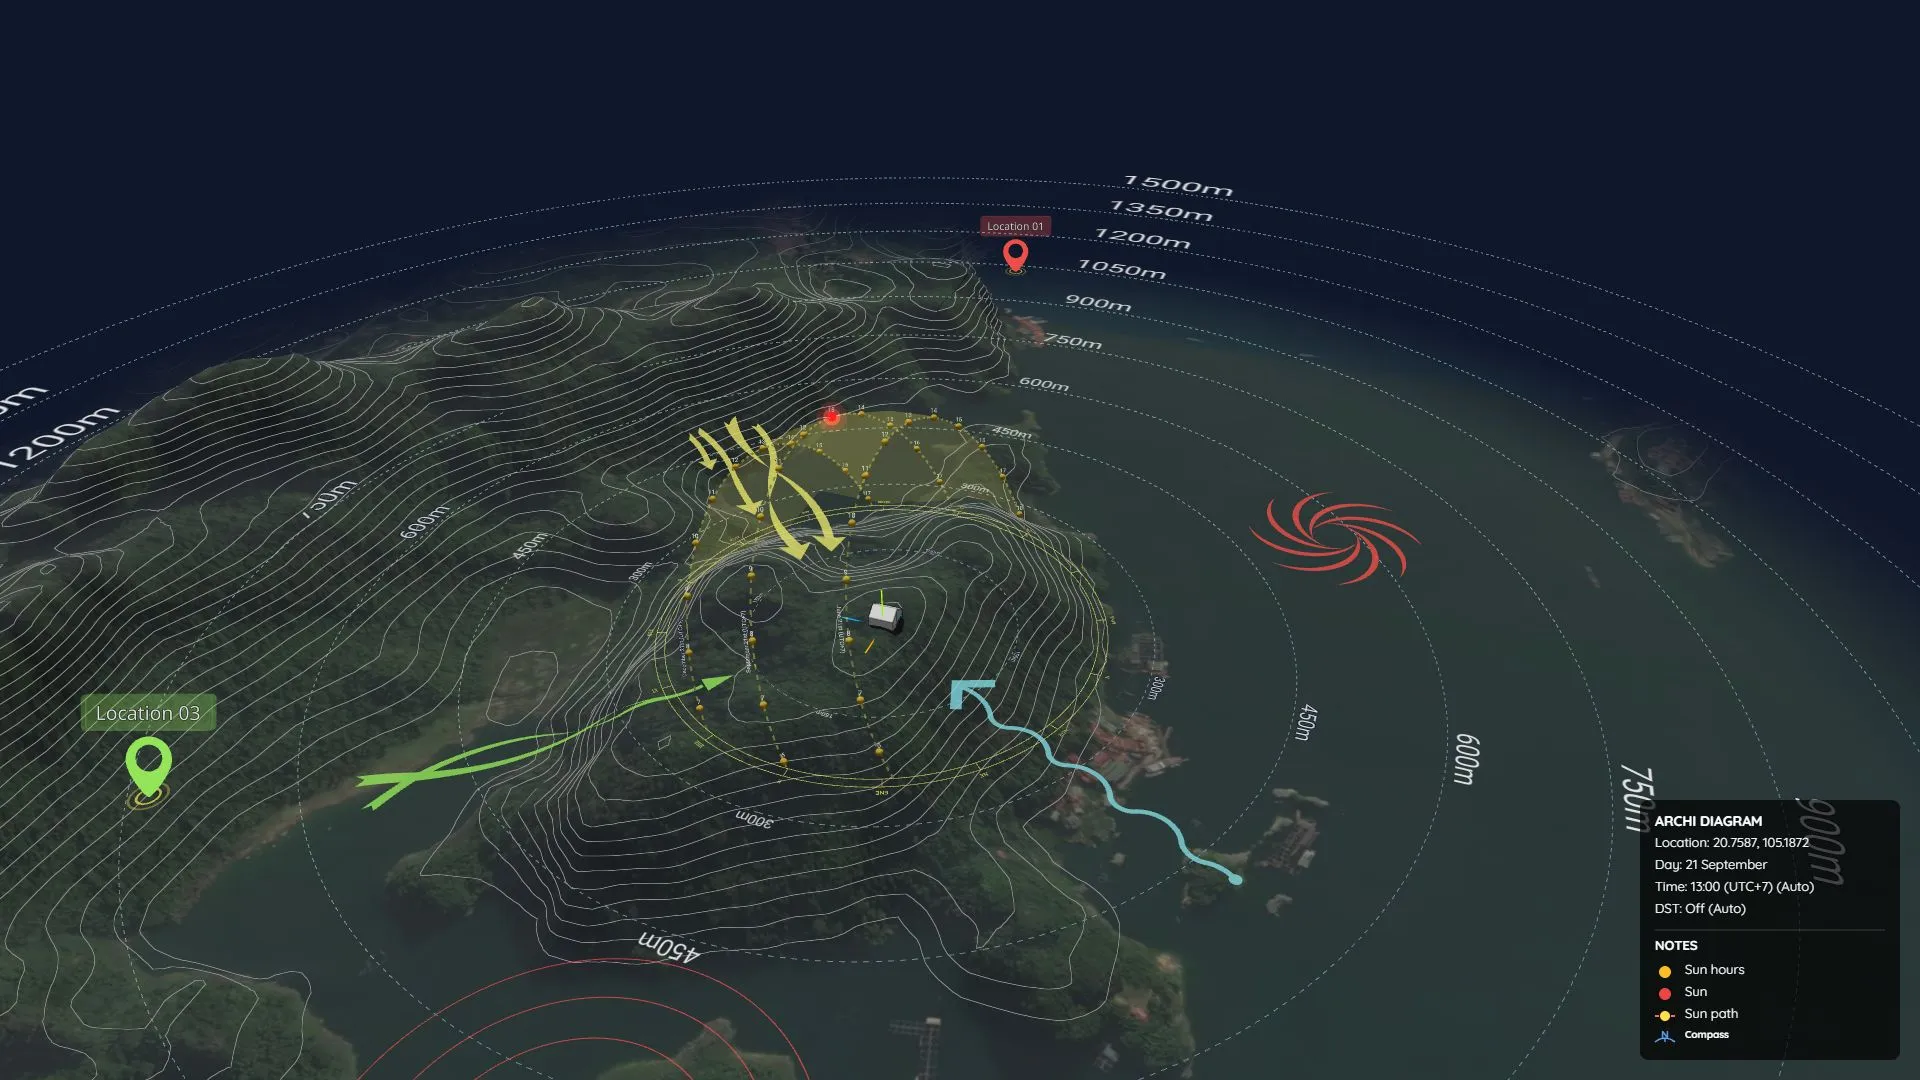
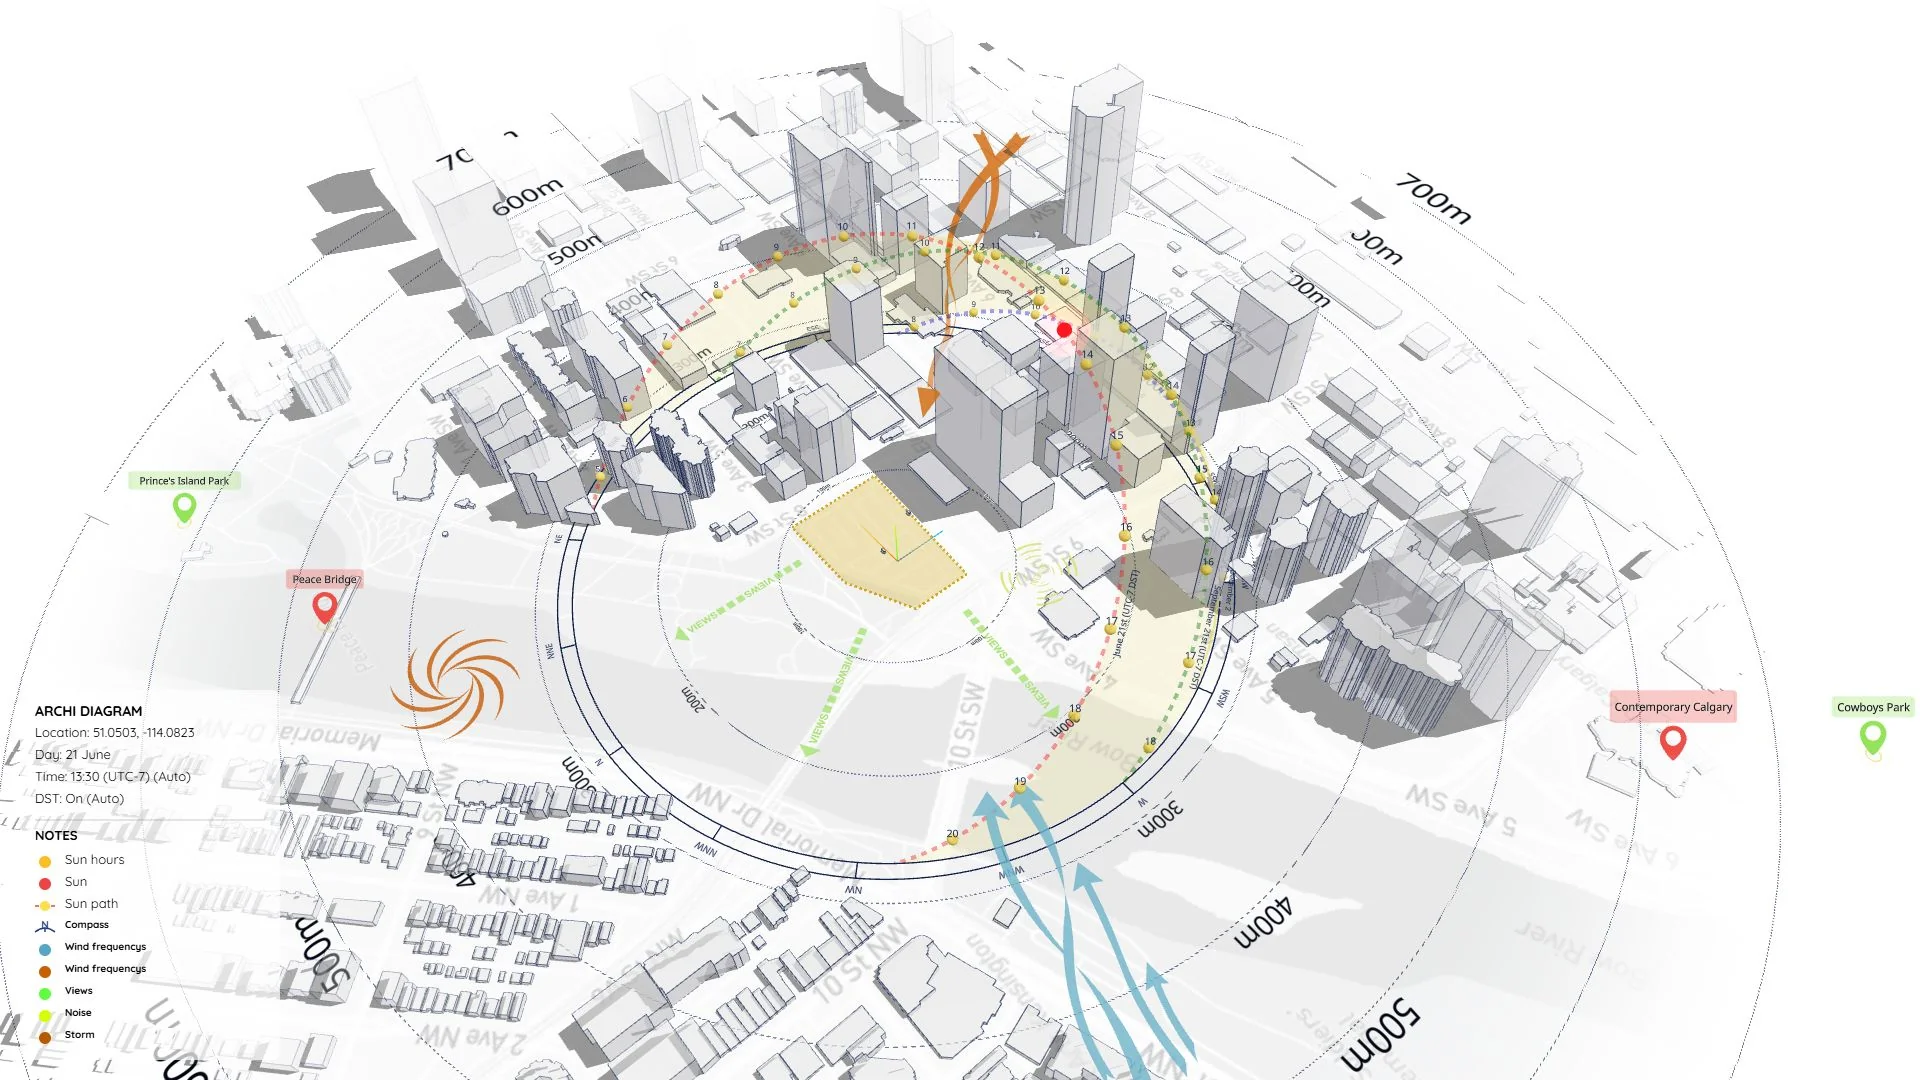
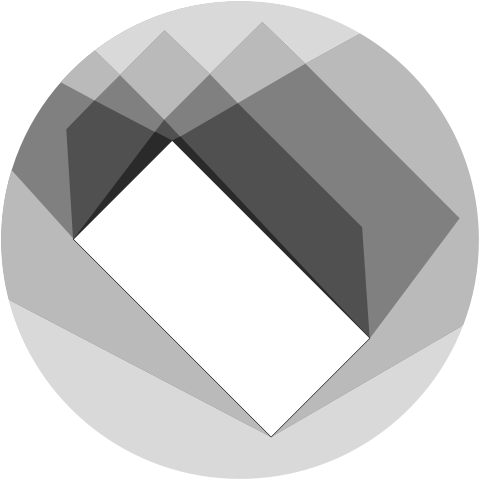
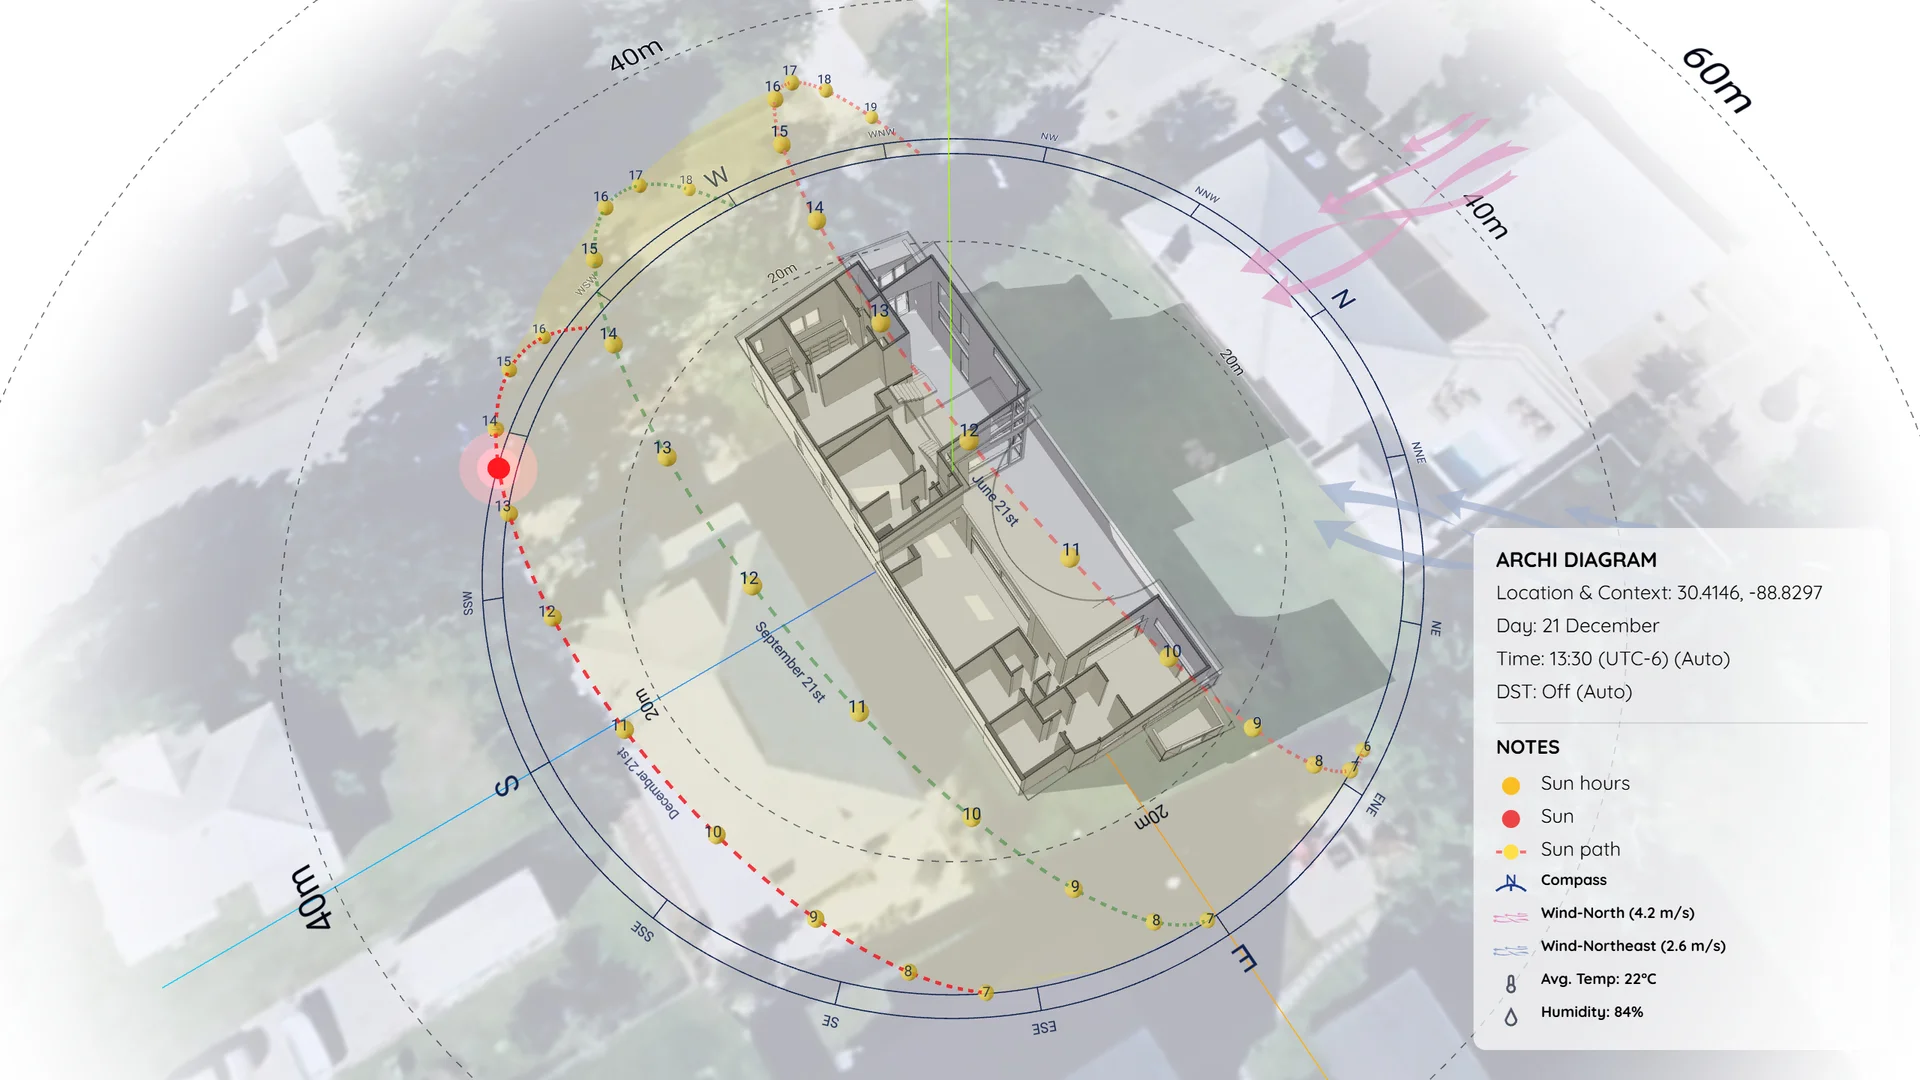
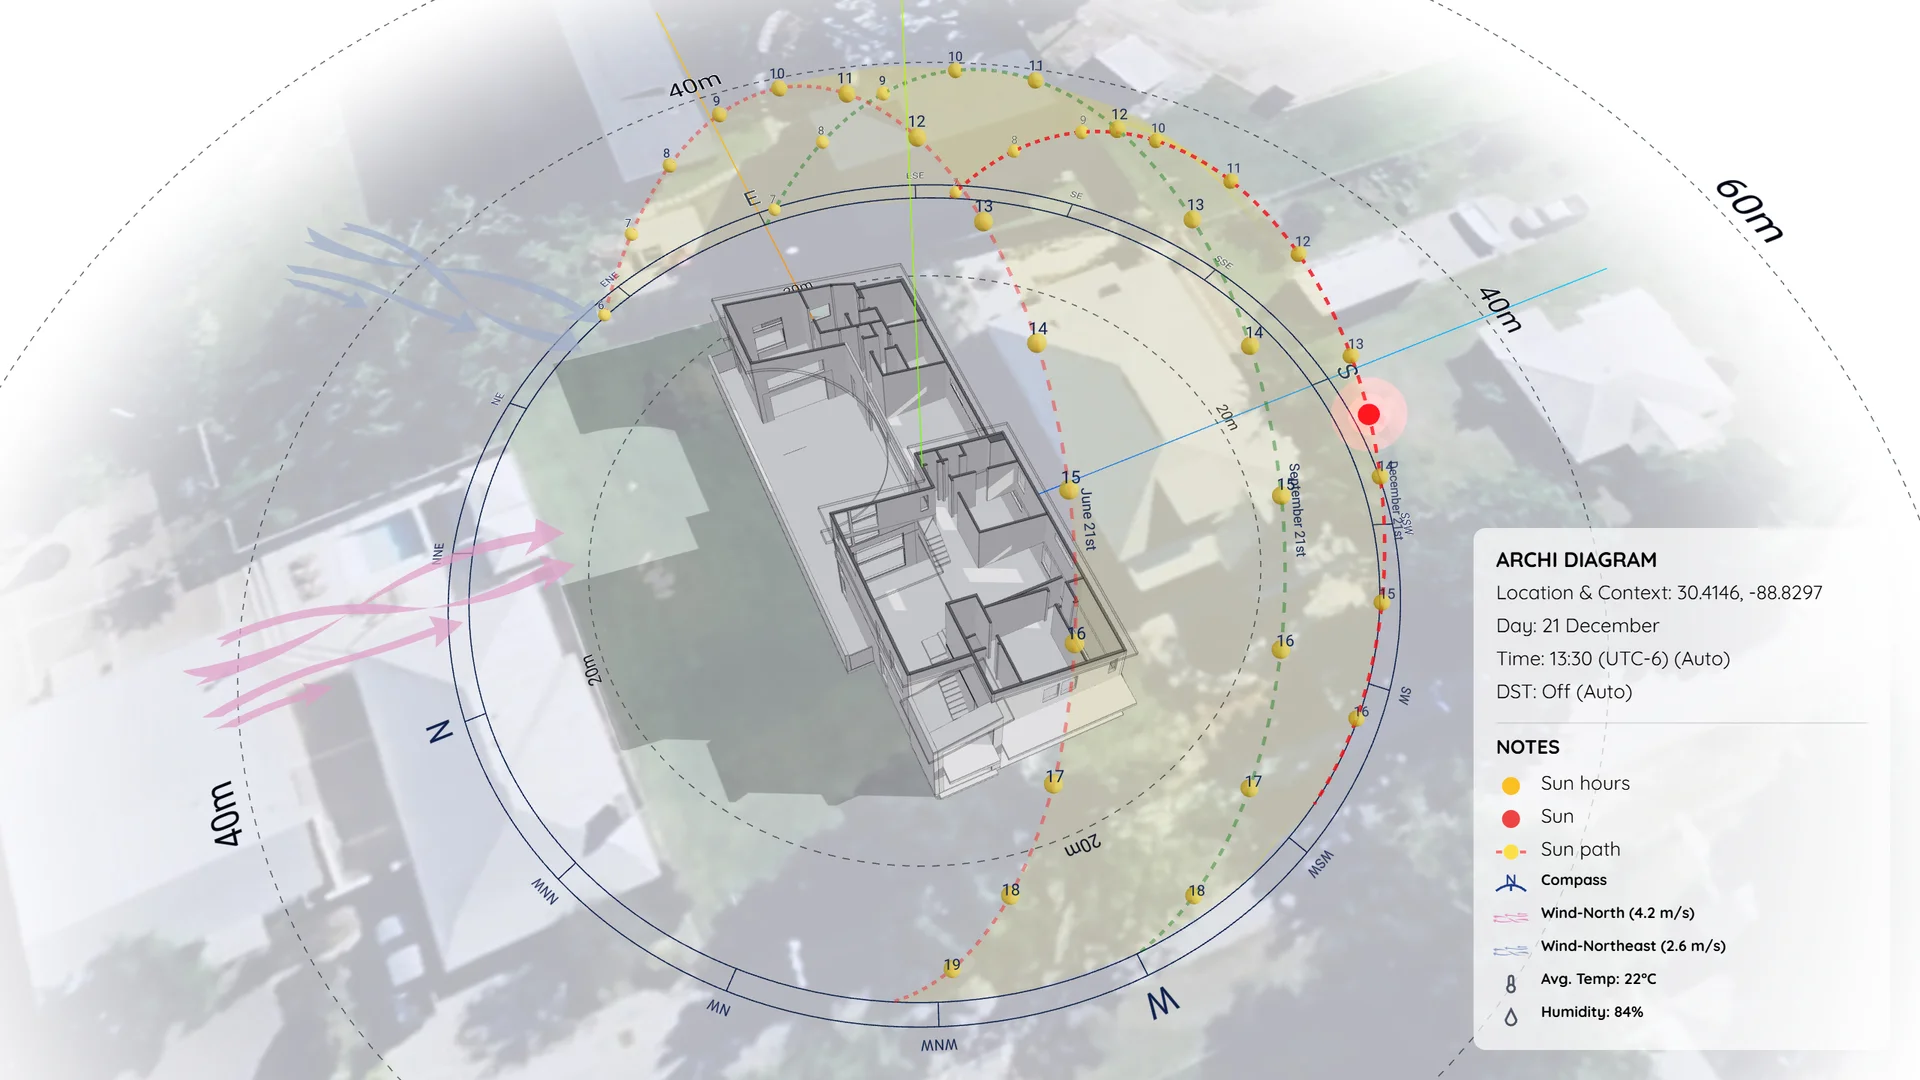
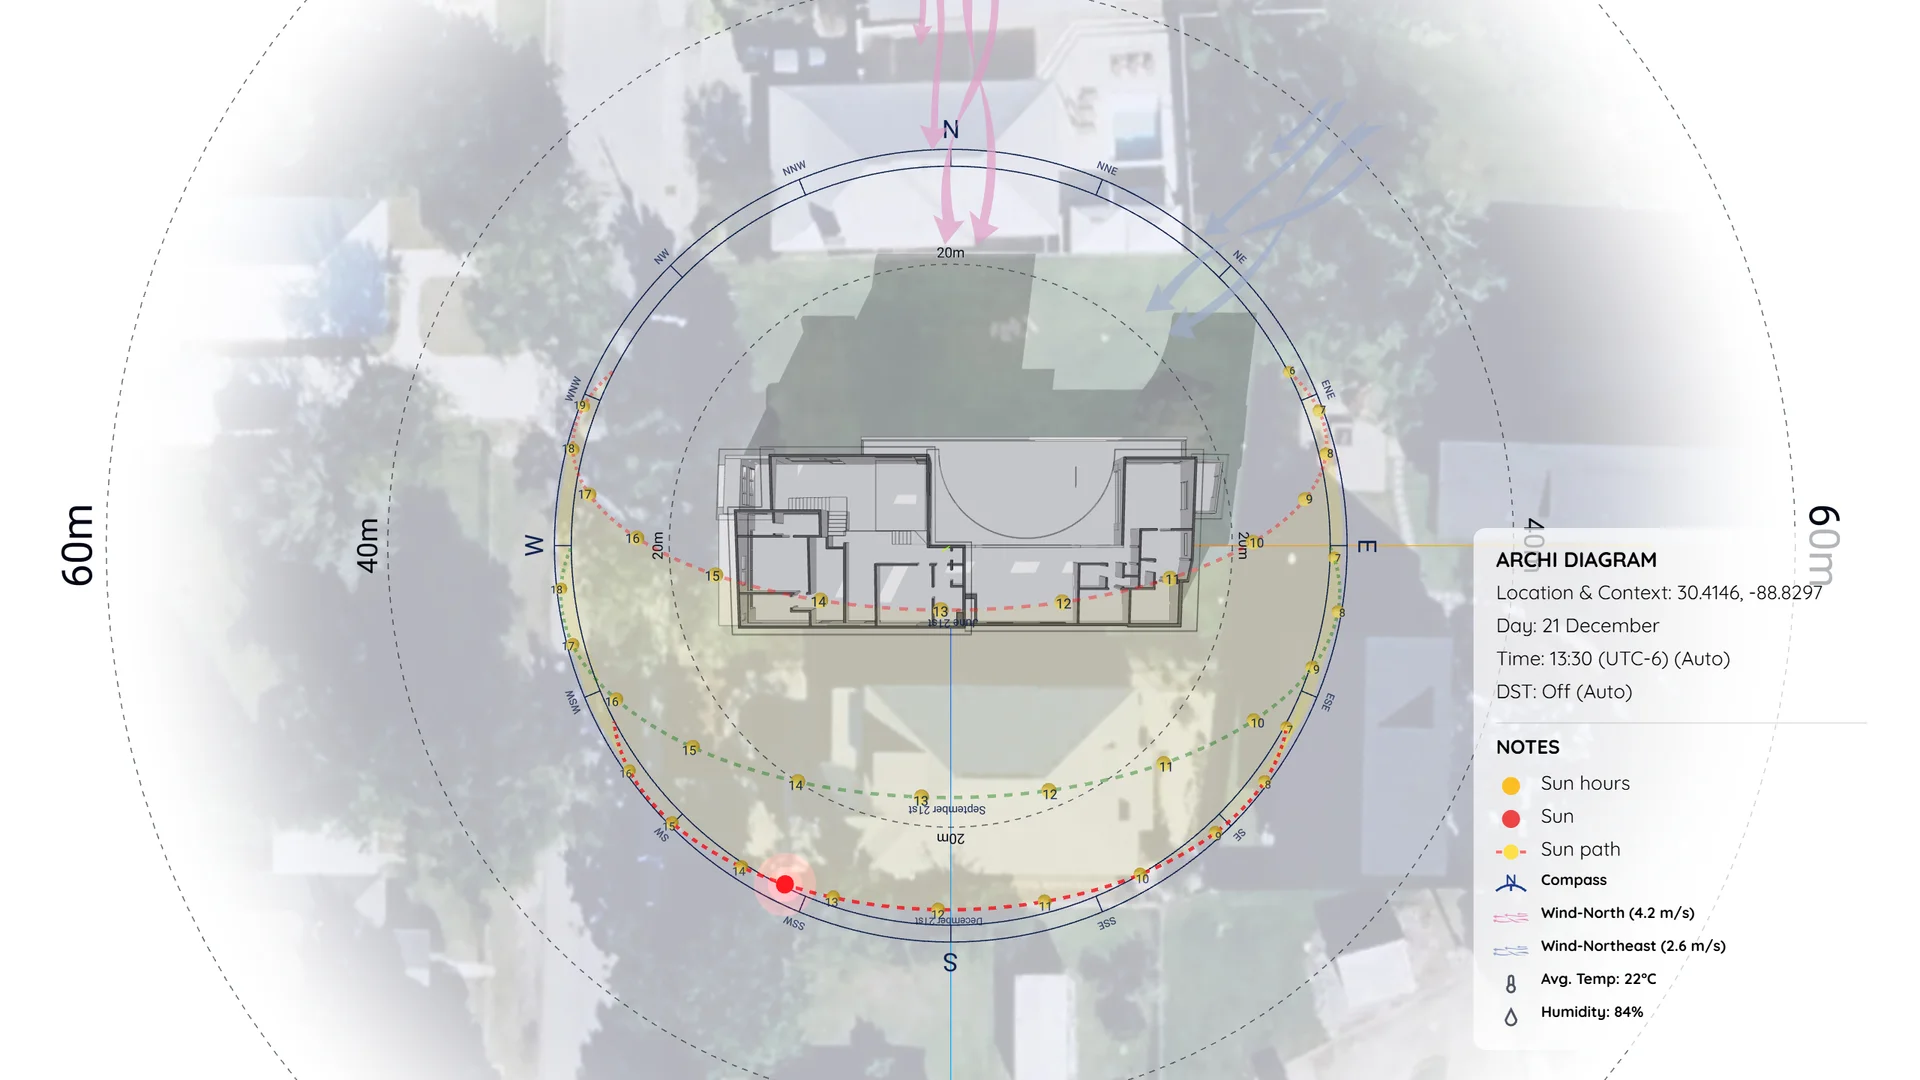
Here are the finished diagrams produced with this workflow:
Step-by-Step Tutorial Workflow
Watch the video tutorial below, then follow each step in detail:
Step 1: Export Your Clean Model from SketchUp (.glb)
To keep things fast and responsive in the web browser, start by preparing your SketchUp model:
- Keep Only What Casts or Receives Shadow: Clean up heavy entourage items like interior furniture, detailed trees, people, and decorative clutter. Keep the primary building volume—exterior walls, glazing, rooflines, overhangs, and boundary fences.
- Check Model Units: Make sure your model scale is in Meters (m) and that its orientation aligns with the project’s true site orientation.
- Export as
.glb: Go toFile > Export > 3D Modeland select GLB / glTF. Keep the file size under 10MB for smooth online loading.
Step 2: Create a New Project in ArchiDiagram
- Open your browser and head to app.archidiagram.com.
- Click Create New Project and pick Blank Studio:
- Blank Studio: Starts with a clean canvas, perfect when you want full control over your model, materials, and styling.
- (Note: You can also choose Express Mode, which is great for site analysis because it automatically pulls surrounding 3D context buildings from OpenStreetMap).
- Set Units & Theme: Select Meters (m) and choose Light Mode for a crisp, publication-style look. You can switch between Light and Dark mode anytime from the bottom footer without breaking your settings.
Step 3: Import Model, Set Location & Adjust Context
- Import the 3D Model: Go to the Import tab on the left menu, select your
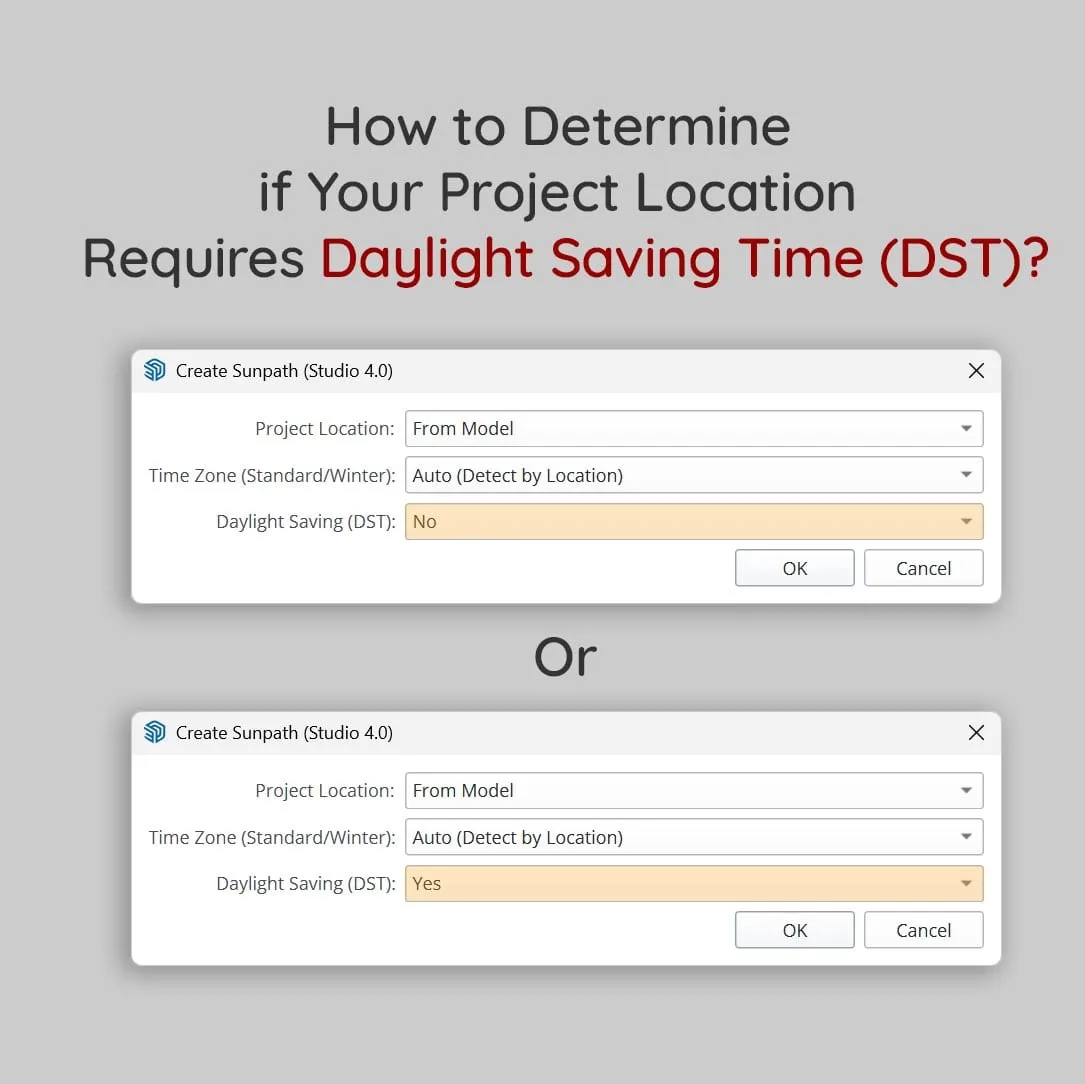
.glbfile, and upload it. Since orientation was already aligned in SketchUp, you don’t need to rotate the building. (If needed, you can always adjust the True North slider in Location & Context to rotate the sun path and satellite map together). - Enter Site Address / Coordinates: Type your site address or paste latitude/longitude coordinates. The app instantly updates the 3D Sun Path dome, the UTC timezone, and the local Daylight Saving Time (DST) offset.
- Adjust Satellite Map & Zoom:
- Increase the Zoom Level slider to get sharp satellite imagery under your building.
- Temporarily turn up Map Opacity so you can clearly check the surrounding streets and parcel boundaries.
- Tune Diagram Radius & Distance Rings:
- Set the Diagram Radius to around 60 meters. A compact radius keeps the shadow calculation sharp and focused directly on the building rather than spreading over an unnecessarily wide area.
- Keep the Number of Rings moderate so the distance circles give a helpful sense of scale without cluttering your view.
- Scale Sun Path & Turn On Seasonal Wind Arrows:
- In Global Settings, scale up the Global Scale slider so the 3D sun dome arches comfortably over the roof without cutting into the building.
- Turn on Auto Wind Arrows. ArchiDiagram automatically fetches NASA seasonal climate data for your coordinates. Toggle through different months to verify how the prevailing breeze shifts between summer and winter.
Step 4: Fine-Tune Materials & The 40% Opacity Rule
In the Object Properties panel, you can inspect each material layer to hide unnecessary elements and dial in transparency:
| Component | Target Opacity | Light & Shadow Behavior | Purpose / Visual Result |
|---|---|---|---|
| Window Glazing | < 40% (e.g., 20%–35%) | Light Penetration: Direct sunlight passes through glass into interior living spaces. | Shows natural daylight reaching floor areas, hallways, and living zones. |
| Roof Planes | Exactly 40% | Shadow Caster: Blocks overhead light while creating a subtle transparent X-ray effect. | Allows you to see interior layout from above without causing artificial light leaks from the top. |
| Exterior Walls & Partitions | 100% | Full Opaque Shadow: Solid shadow casting with crisp exterior edge lines. | Defines clear massing and realistic shadow boundaries across the ground and adjacent sites. |
- Window Glass (< 40%): At opacity below 40%, the engine allows light rays to penetrate into the interior, letting you analyze genuine indoor daylighting.
- Roof (40%): Setting opacity to exactly 40% gives you a cutaway view into the layout while continuing to cast a full shadow—preventing light from leaking unrealistically through the roof.
Step 5: Adjust Visual Balance & Styling
To achieve a clean, elegant architectural look:
- Tone Down the Satellite Map: Lower Map Opacity to around 25%–35%. This keeps surrounding context subtly visible while letting your building and shadow stand out clearly.
- Style Accents: Customize line colors, sun node, and compass rings in the Style tab to match your presentation palette.
- HUD Notes: Toggle on-screen info to show coordinates and time parameters cleanly in one corner.
Step 6: Export Images & Video Animations
Once your diagram is dialed in, head over to the Export menu:
- High-Resolution Images (Up to 5K): Export crisp JPG or PDF stills at key dates and times—such as the Winter Solstice (minimum sun angle), Summer Solstice (overhang shading), or Equinox.
- Cinematic Video (MP4):
- Select VIDEO and use Batch Export Shadows to sweep the sun automatically across the day (e.g., 08:00 to 17:00).
- Enable Rotate 360° for a smooth orbiting aerial presentation around the building.
- Video exports automatically feature a 1-second pause at the start and end, making looped animations look clean and seamless.
A Note for Real Estate & Property Professionals
If you work in real estate, property development, or luxury home sales, this exact workflow is a powerful tool for presenting properties to prospective buyers.
Instead of relying solely on static artistic renders, walking clients through an interactive shadow and solar diagram provides tangible proof of living quality:
- Demonstrate Genuine Sunlight: Show clients how natural light moves across living rooms, private terraces, or pool areas throughout the year—especially during the winter months.
- Highlight Natural Ventilation: Use the seasonal NASA wind arrows to explain natural breeze corridors and passive cooling.
- Build Confidence & Transparency: An accurate, interactive 3D solar model answers buyers’ daylight and orientation questions instantly, adding substantial credibility to your presentations.
Interactive Sample Project
You can open and test this exact project directly in your browser—drag the sun slider, test seasonal wind arrows, and inspect the 40% opacity roof cutaway:
Explore the Live 3D Model
Click below to open this project in ArchiDiagram App and experiment with the solar simulation in real time.
⚡ Open Sample Project in ArchiDiagram App