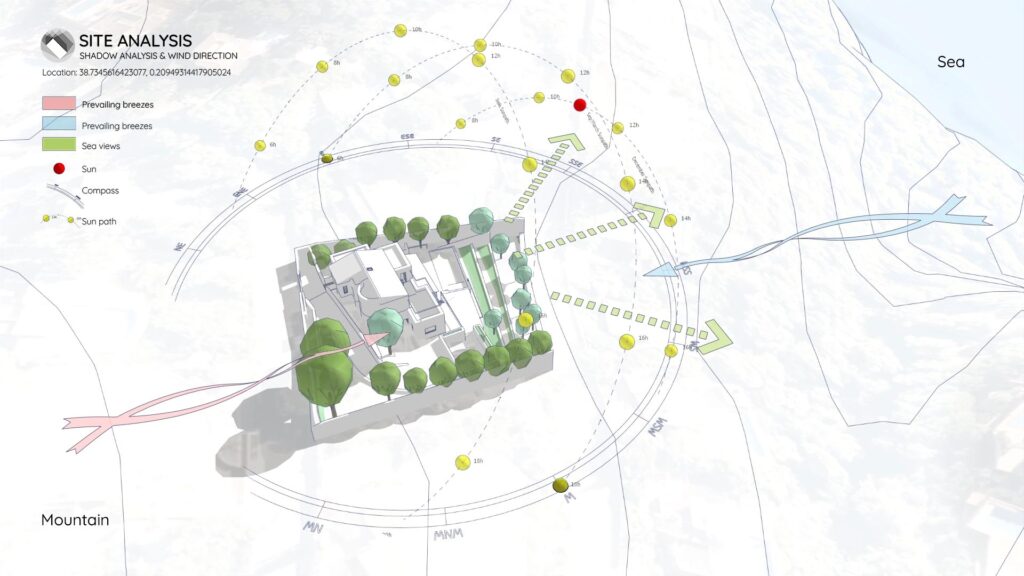
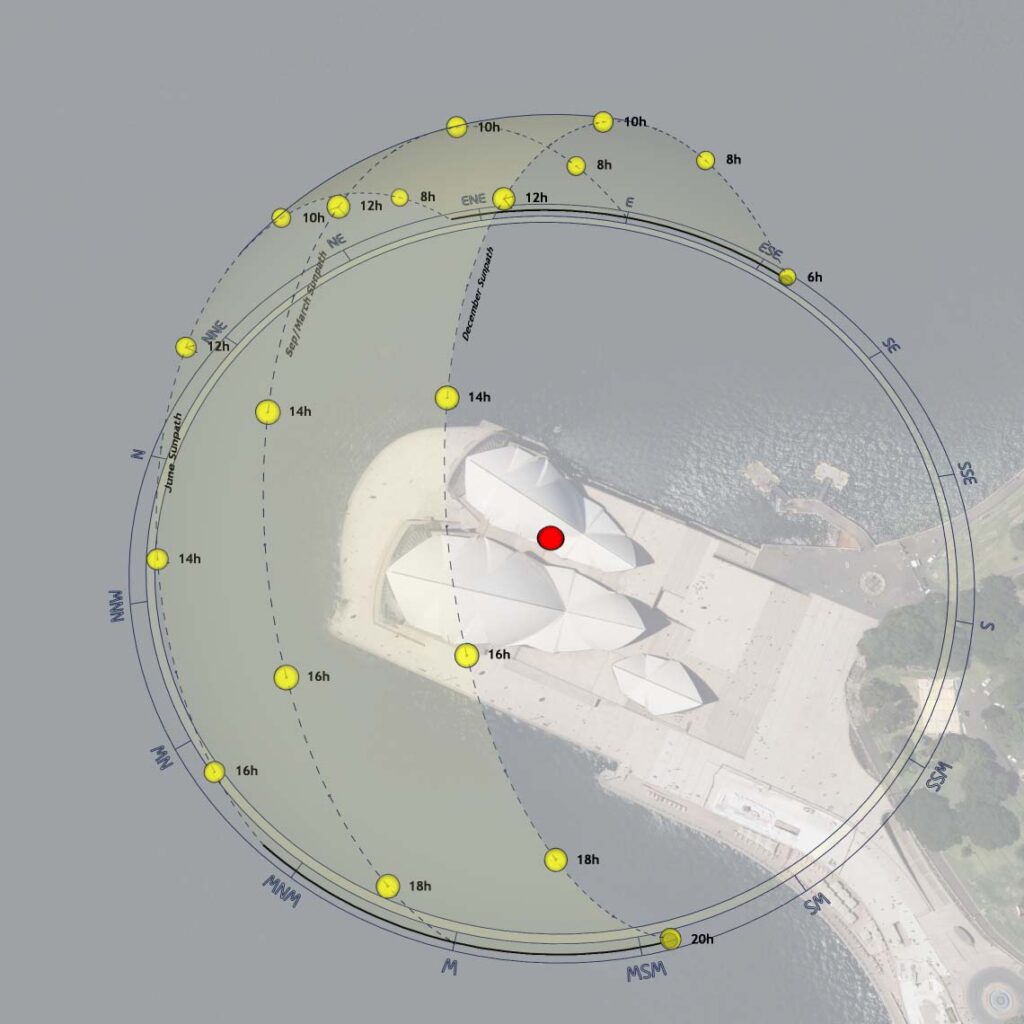
Tutorial on how to create a ventilation analysis diagram
Here’s a step-by-step tutorial on how to create a ventilation analysis diagram using Rwind and Photoshop:
Applicable for:
Vetilation diagram
Wind analysis
Architectural diagram
and more
Softwares used:
SketchUp: Modeling and editing 3D before export
Rwind simulation: Environmental simulation software for airflow analysis (I use the trial version)
- Photoshop: Post-Processing in Photoshop
All files used in the tutorial are included
All files used in the tutorial (3D model, trees.png, indoor.png) (FREE)
Let’s get started !
STEP 1: Create a 3D model in SketchUp
Open SketchUp and model the objects you want to analyze (e.g., a room and trees).
Keep the model simple, using only essential elements like walls and simplified trees (e.g., spheres on top of cylinders).
Check and set the unit of your model to meters:
Go to Window > Model Info > Units
Export the model as an STL file:
File > Export > 3D Model
Select STL format and ensure the unit is set to meters.
STEP 2: Import the Model into Rwind Simulation
- Open Rwind Simulation (trial version available)
- Create a new project, name it, and select a save location.
- Import the STL file and ensure the unit is meters.
Adjust the simulation box:
Reduce its size to optimize calculation time.
If studying only horizontal airflow, adjust the box height accordingly.
STEP 3: Set Up the Simulation in Rwind
Go to Edit Simulation and adjust settings:
Set inlet wind speed (e.g., 5 m/s).
Adjust mesh density (20% for a balance between speed and accuracy).
Click OK, then Calculate Results.
Wait for the simulation to complete.
STEP 4: Visualizing Airflow
Select Flow Field Quantities and choose the XY plane.
Choose a visualization type:
Vector (arrows indicating wind direction and speed).
Streamline (continuous lines showing airflow path) → Recommended.
Adjust streamline density, size, and visibility.
Set the view to top-down (plan view).
Disable background and grid textures.
Export a 10-second animation:
Click Start, then select Flow Animation.
Choose a save location and export the video.
STEP 5:Post-Processing in Photoshop
Open Photoshop and import the video.
Enable the Timeline panel.
Add PNG images (furniture, trees, etc.) to enhance realism.
Adjust opacity to blend elements with the background.
Draw wall outlines for clarity.
Replace simple tree shapes with PNG tree images.
Align layers with the timeline and extend them to match the video duration.
Crop the video to focus on key moments.
Export the final processed video.
Final Result
Thanks for watching !

About the Author
Nam Nguyen
Architect & Software Developer | Founder of Febhouse & ArchiDiagram
I build tools like Sun Diagram, Dynamic Symbols, and Shadow Slice to help architects work smarter.