Quick Site Analysis (Sample-53)
Overview
Template and workflow demonstration for rapid 3D site analysis using the ArchiDiagram App. Generate accurate solar paths, prevailing wind flows, surrounding 3D context buildings, and existing site vegetation in minutes directly from your project coordinates.
How It’s Made
In the video tutorial below, I walk you through the complete step-by-step setup to create Sample-53 using the ArchiDiagram App—from entering site coordinates in Express Mode to importing the 3D building massing and exporting multiple visual styles.
Step-by-Step Guide with ArchiDiagram App
https://www.youtube.com/watch?v=QcJjjrfHDZc
This diagram was created using the web-based ArchiDiagram App. Follow the 5 steps below to create a similar site analysis diagram for your own project:
-
Step 1: Create a New Project in Express Mode & Enter Site Coordinates
On the Home screen at app.archidiagram.com, create a new project and select Express mode. Enter the GPS coordinates (or address) of the site location you want to study. -
Step 2: Adjust Diagram Scale & Auto-Generated Context Data
Adjust the diagram radius and overall scale to fit your site appropriately. At this stage, the 3D Sun Path, Prevailing Wind data, surrounding buildings, and existing trees are all automatically generated and placed into the diagram based on the coordinates provided in Step 1. -
Step 3: Import Your 3D Building Model (
*.glb) & Align Orientation
Import your architectural model in*.glbformat—which you can export from any 3D software such as SketchUp, Rhino, 3ds Max, Revit, or Blender. Adjust the building’s orientation so that it aligns accurately with the compass on the diagram. -
Step 4: Fine-Tune Vegetation & Site Context
Refine the diagram by adding custom trees where needed or hiding any auto-generated trees that do not match actual site conditions (since trees on the diagram are automatically populated based on green canopy areas on the map, their placement is an approximation rather than 100% exact). -
Step 5: Choose Diagram Styles & Export to Image or Video
Select a visual preset that fits your presentation board from Diagram Styles (such as Clean Light, Default Dark, or Monochrome), then export your diagram as high-resolution images or smooth video animations according to your needs.
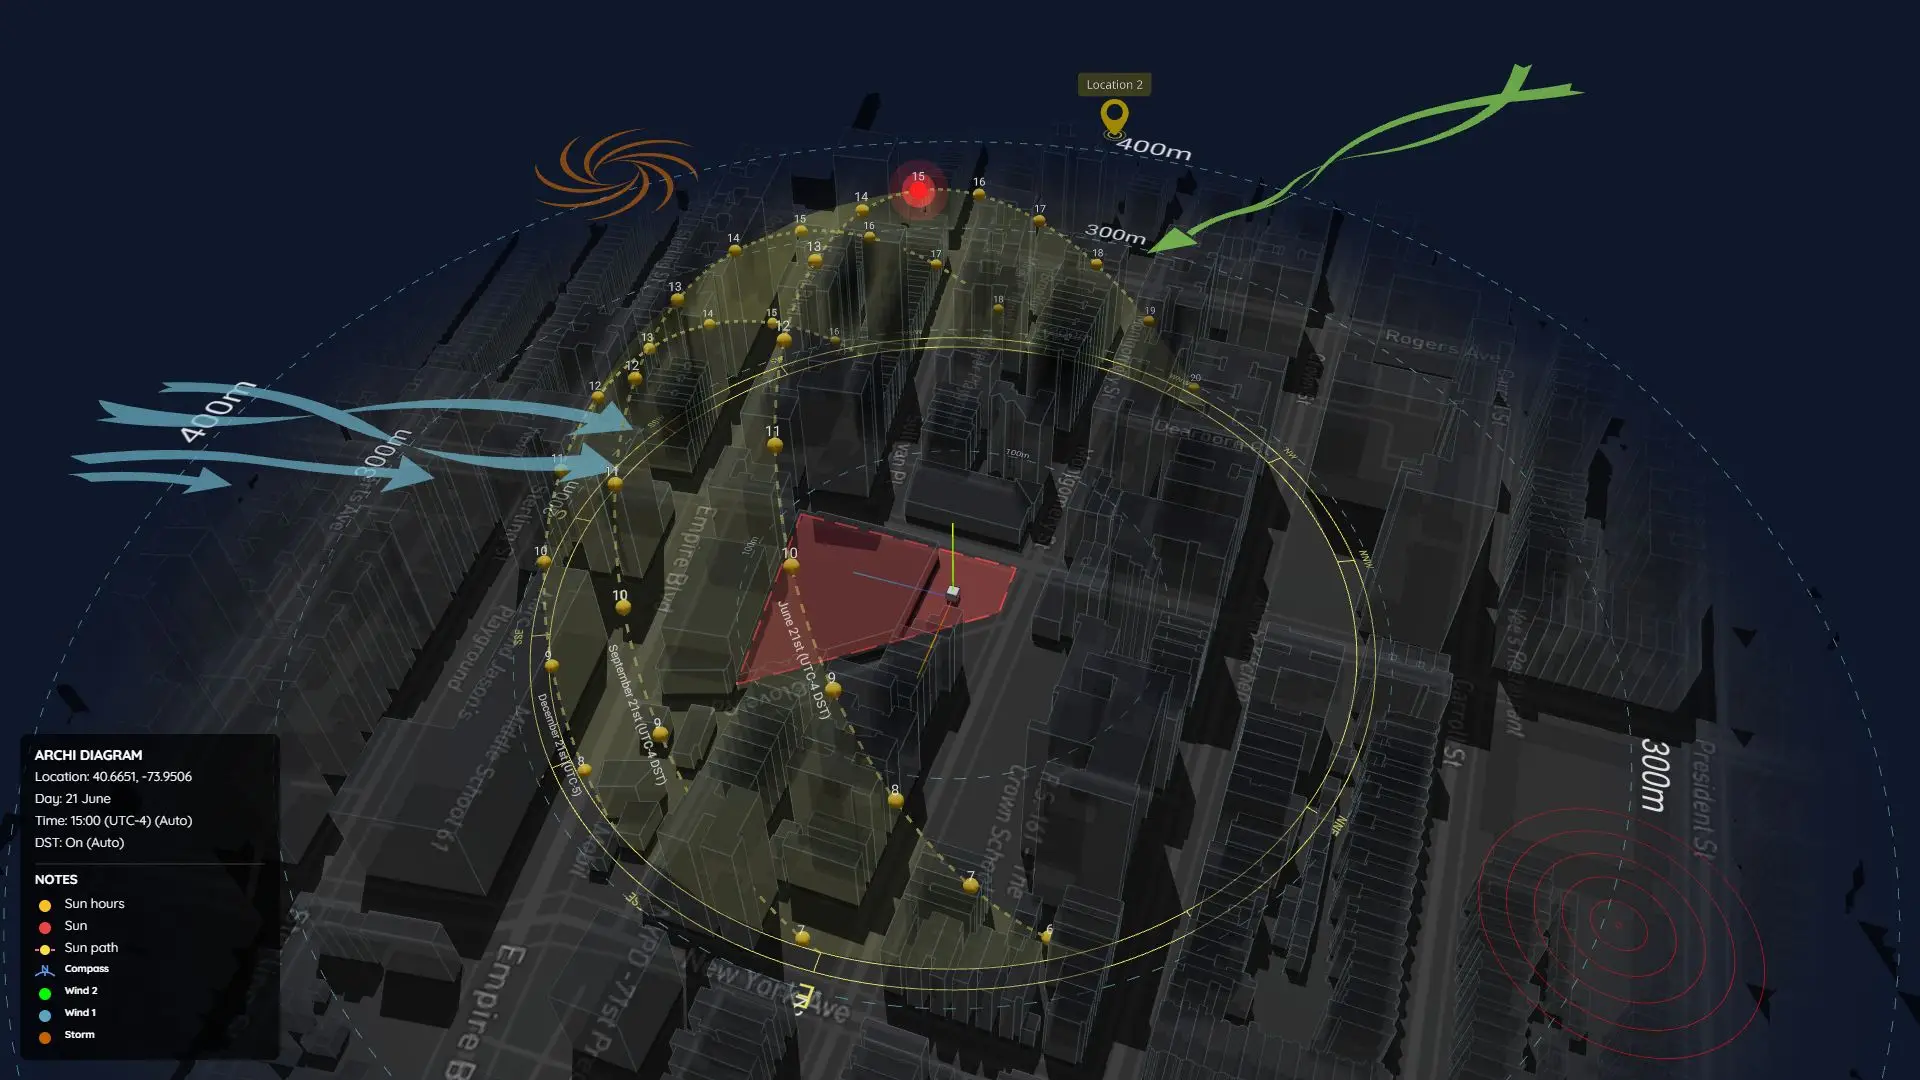
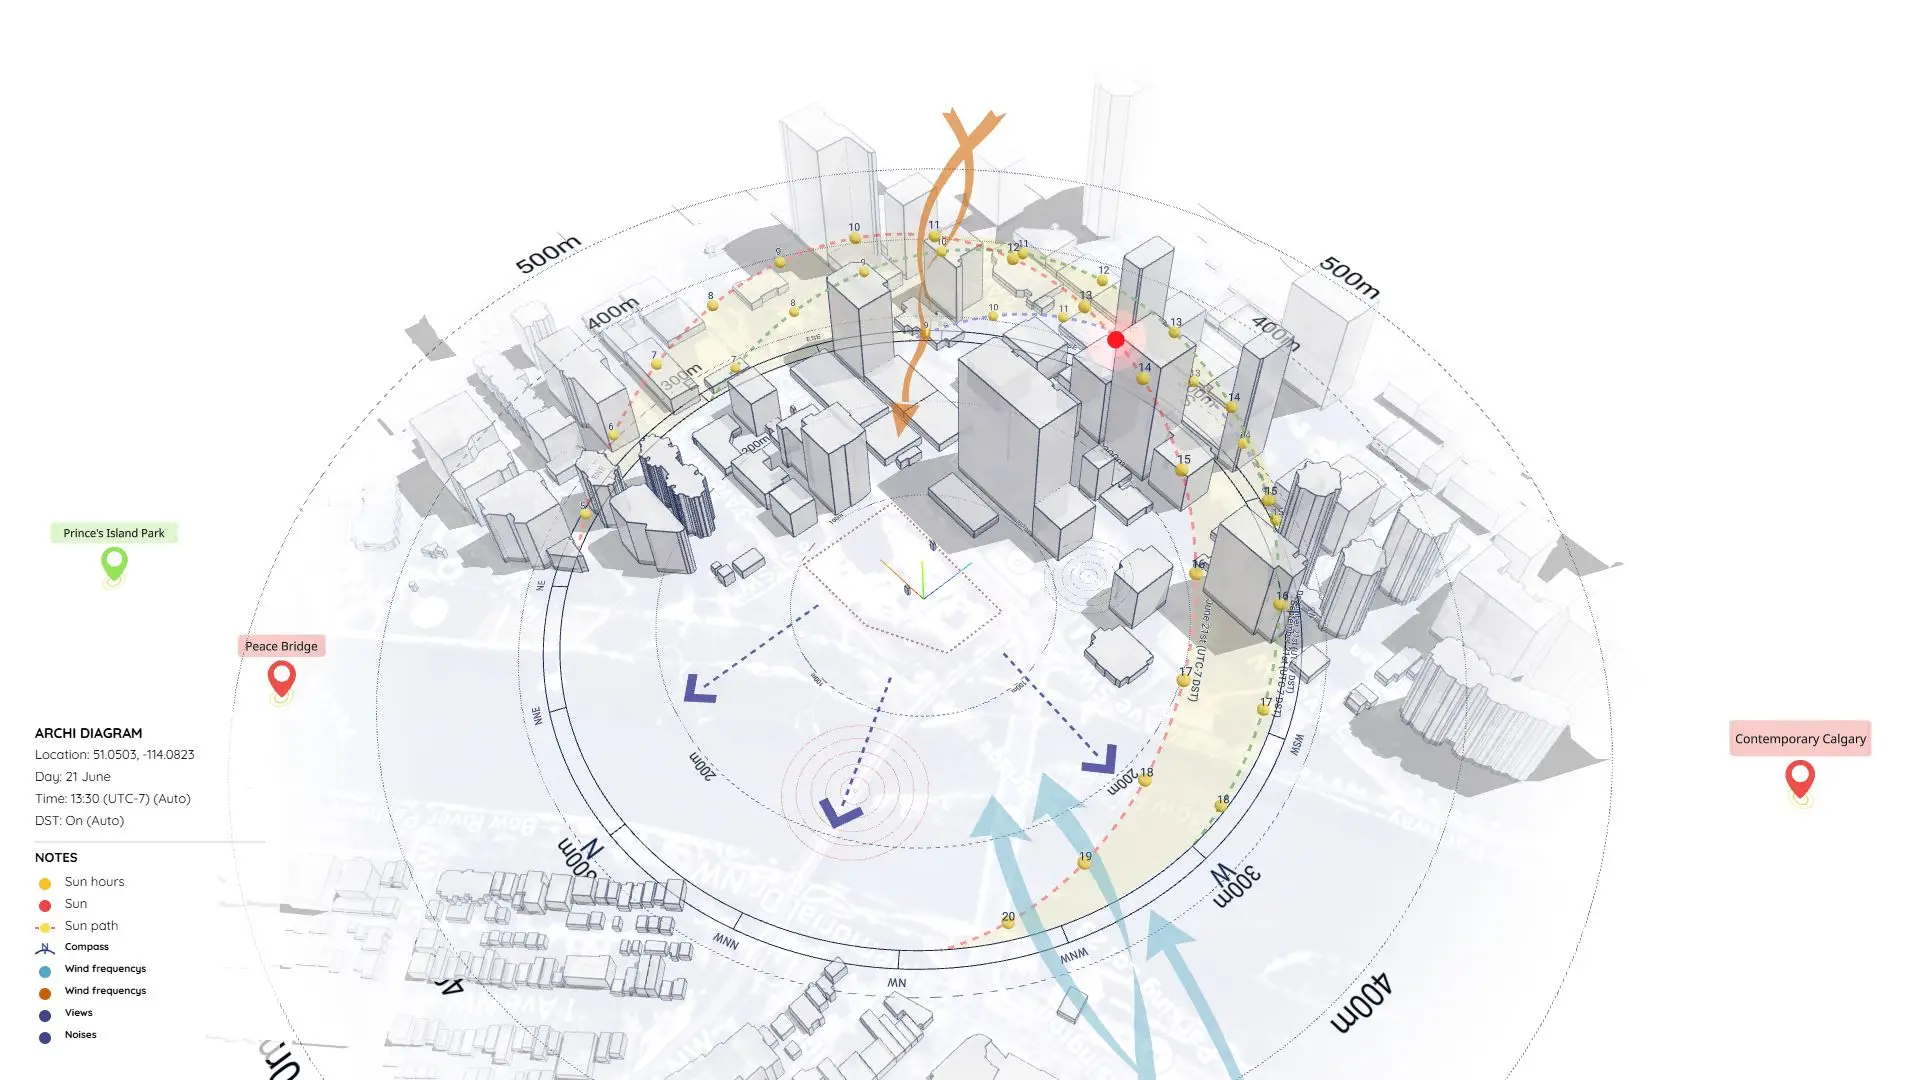
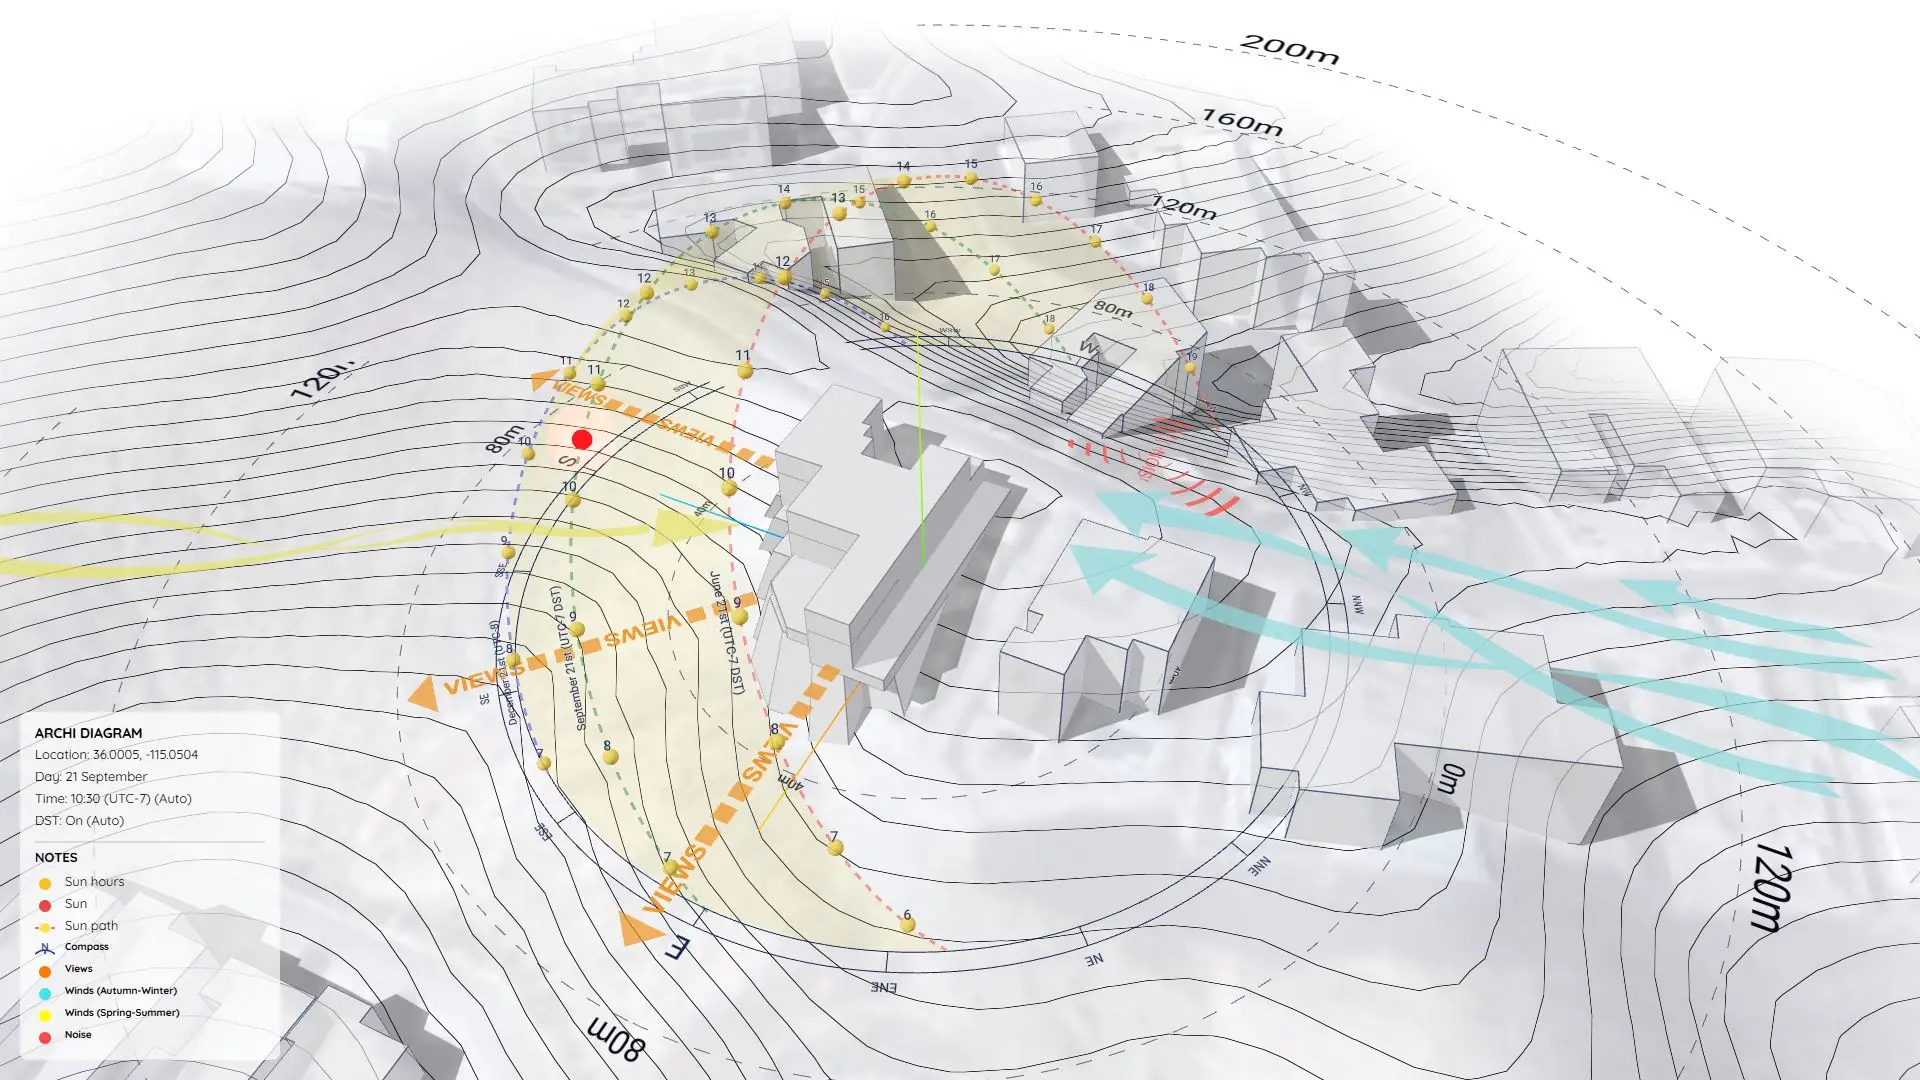
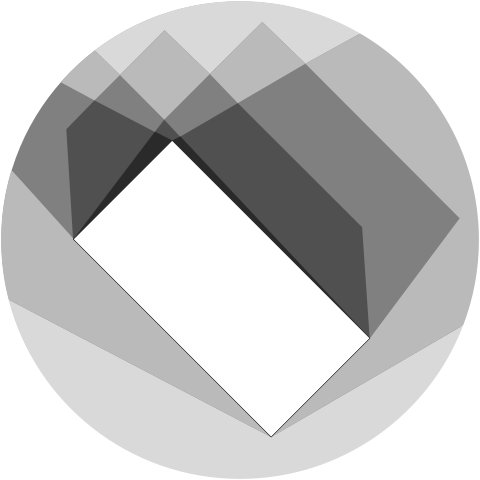
Diagram Styles & Camera Views
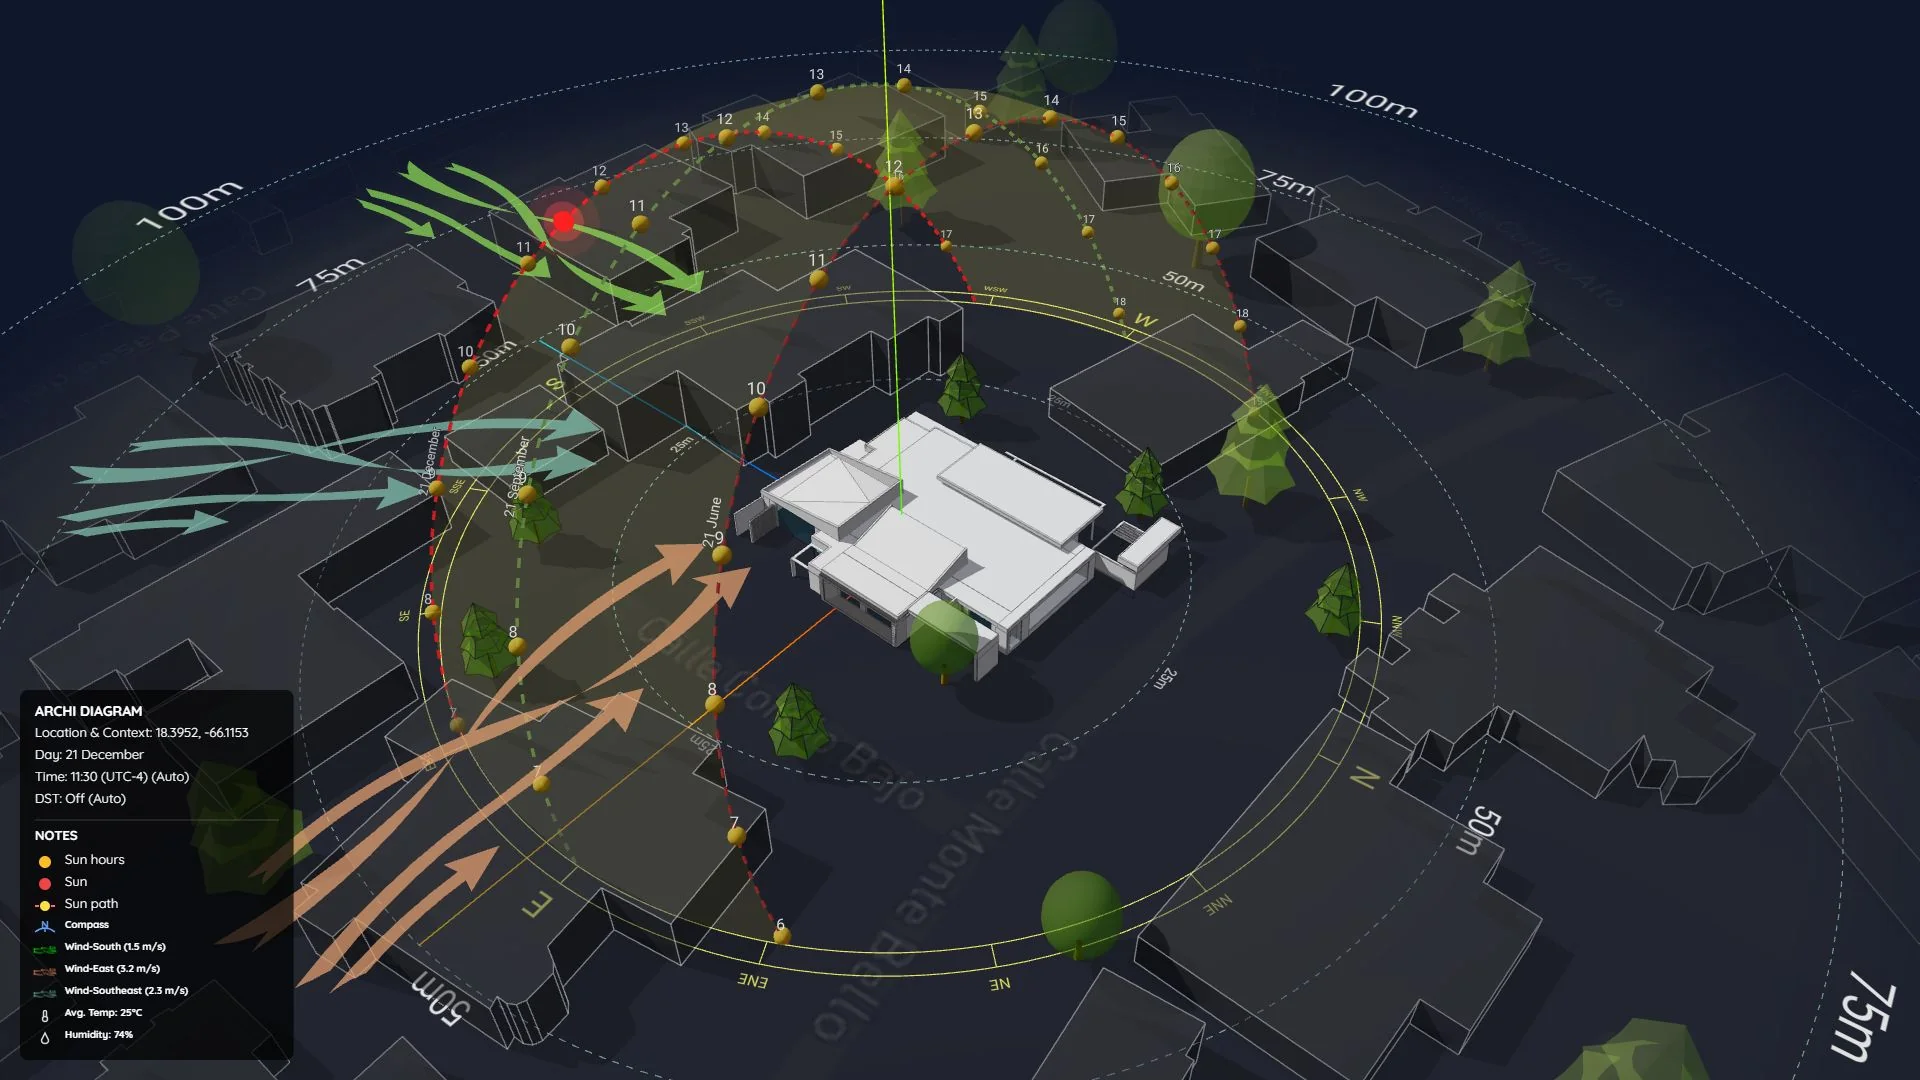
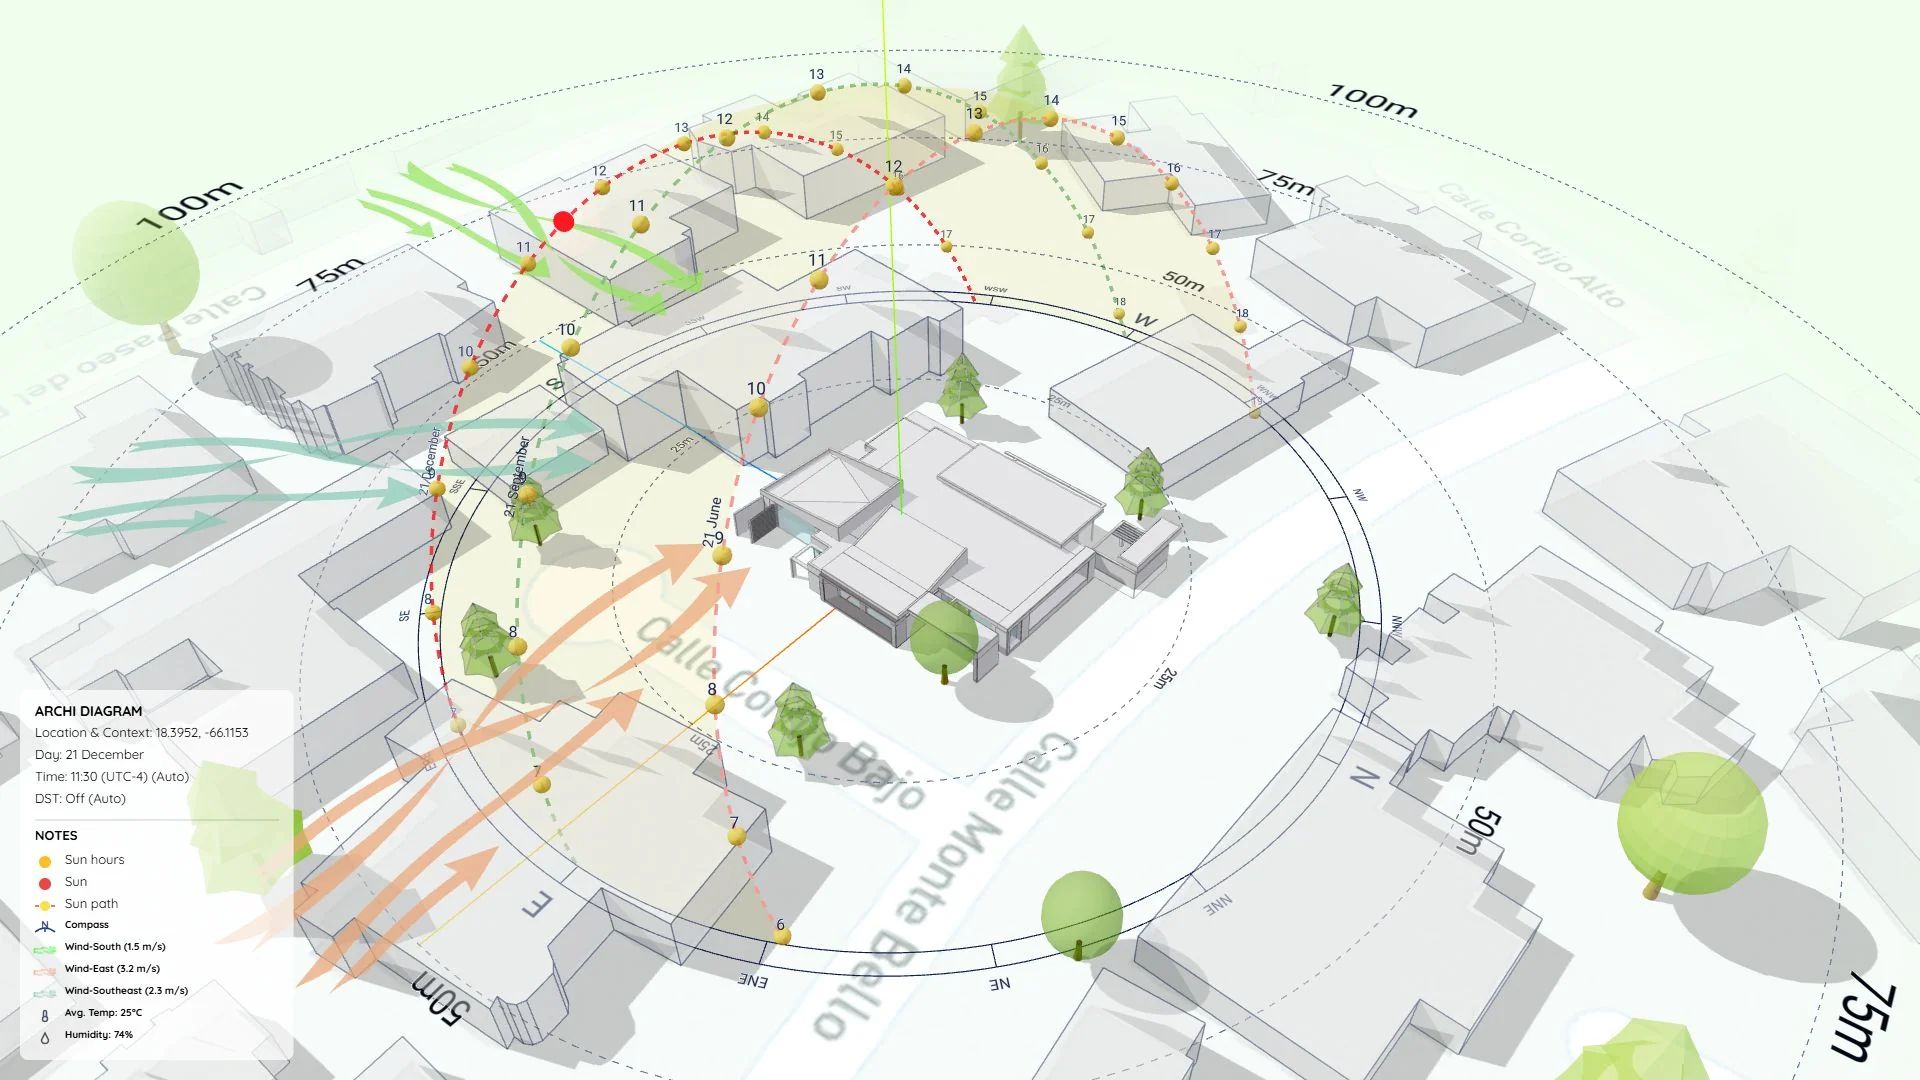
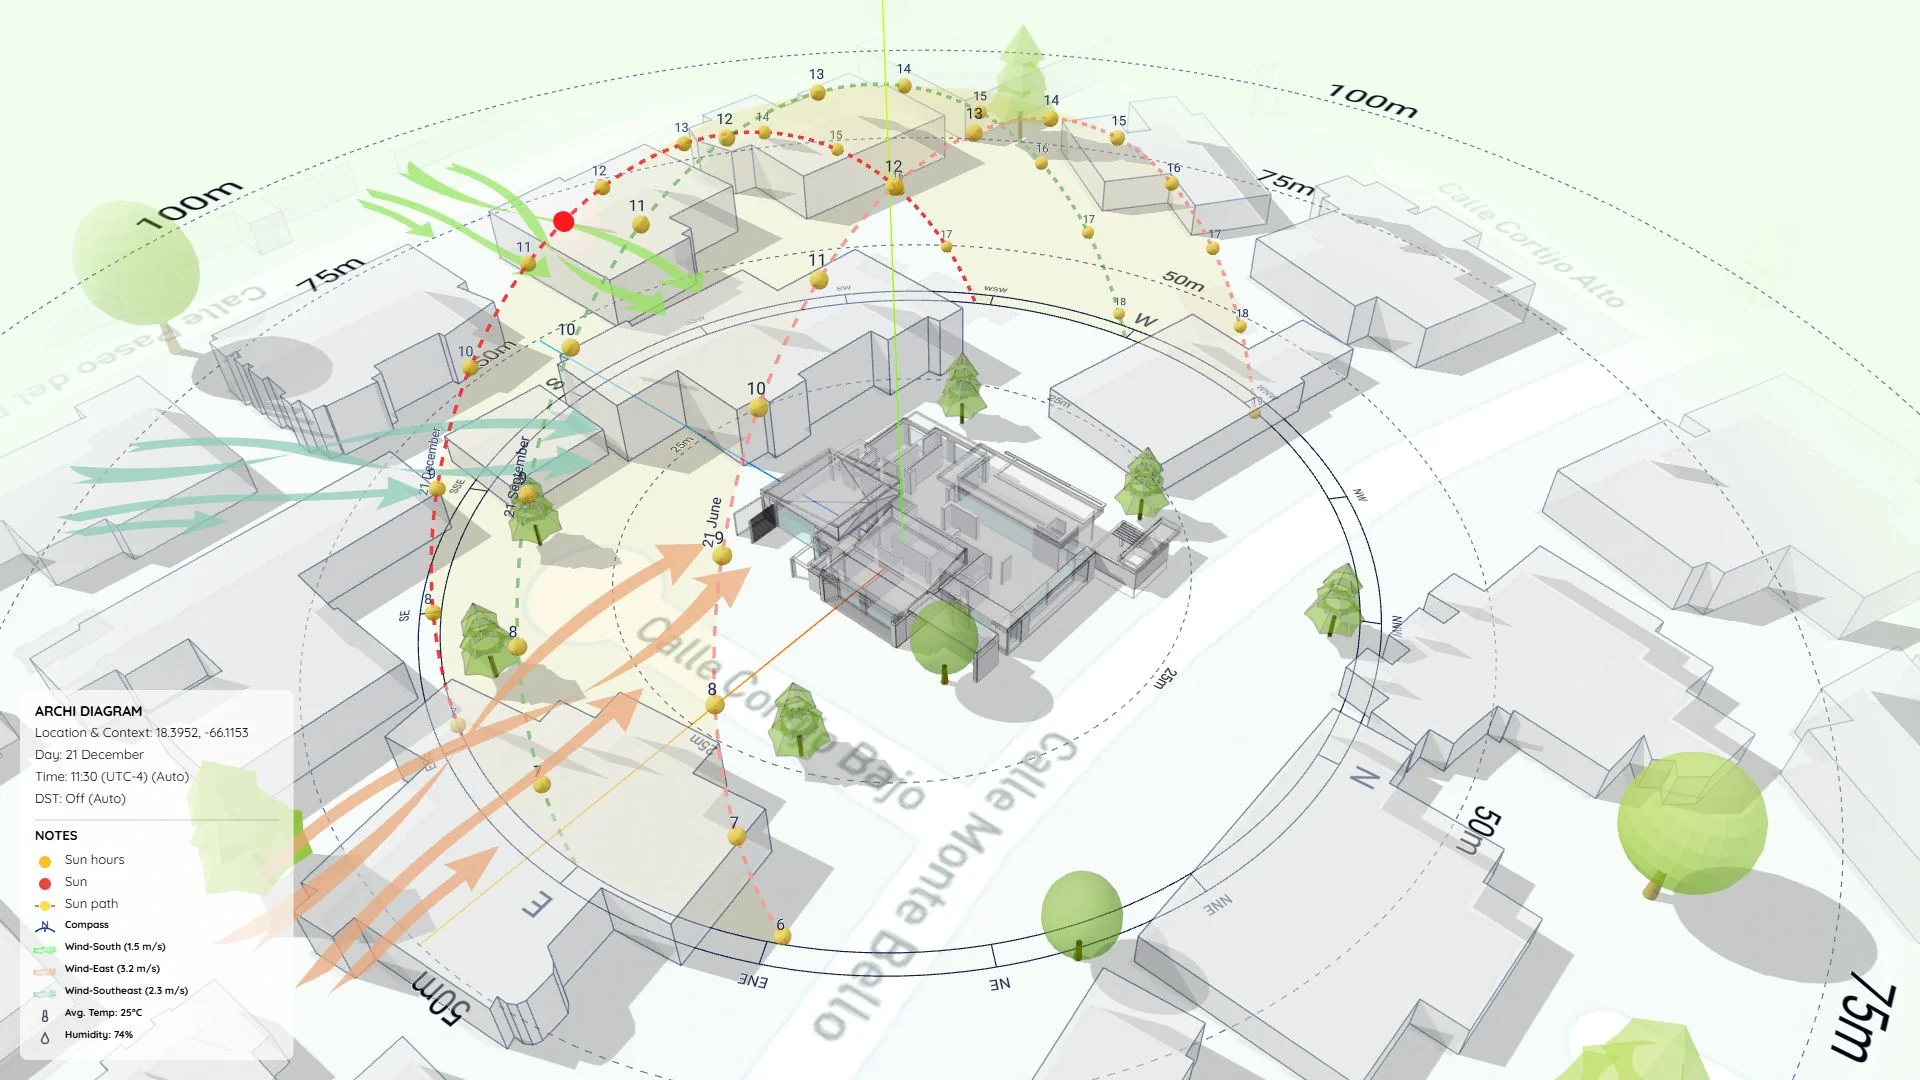
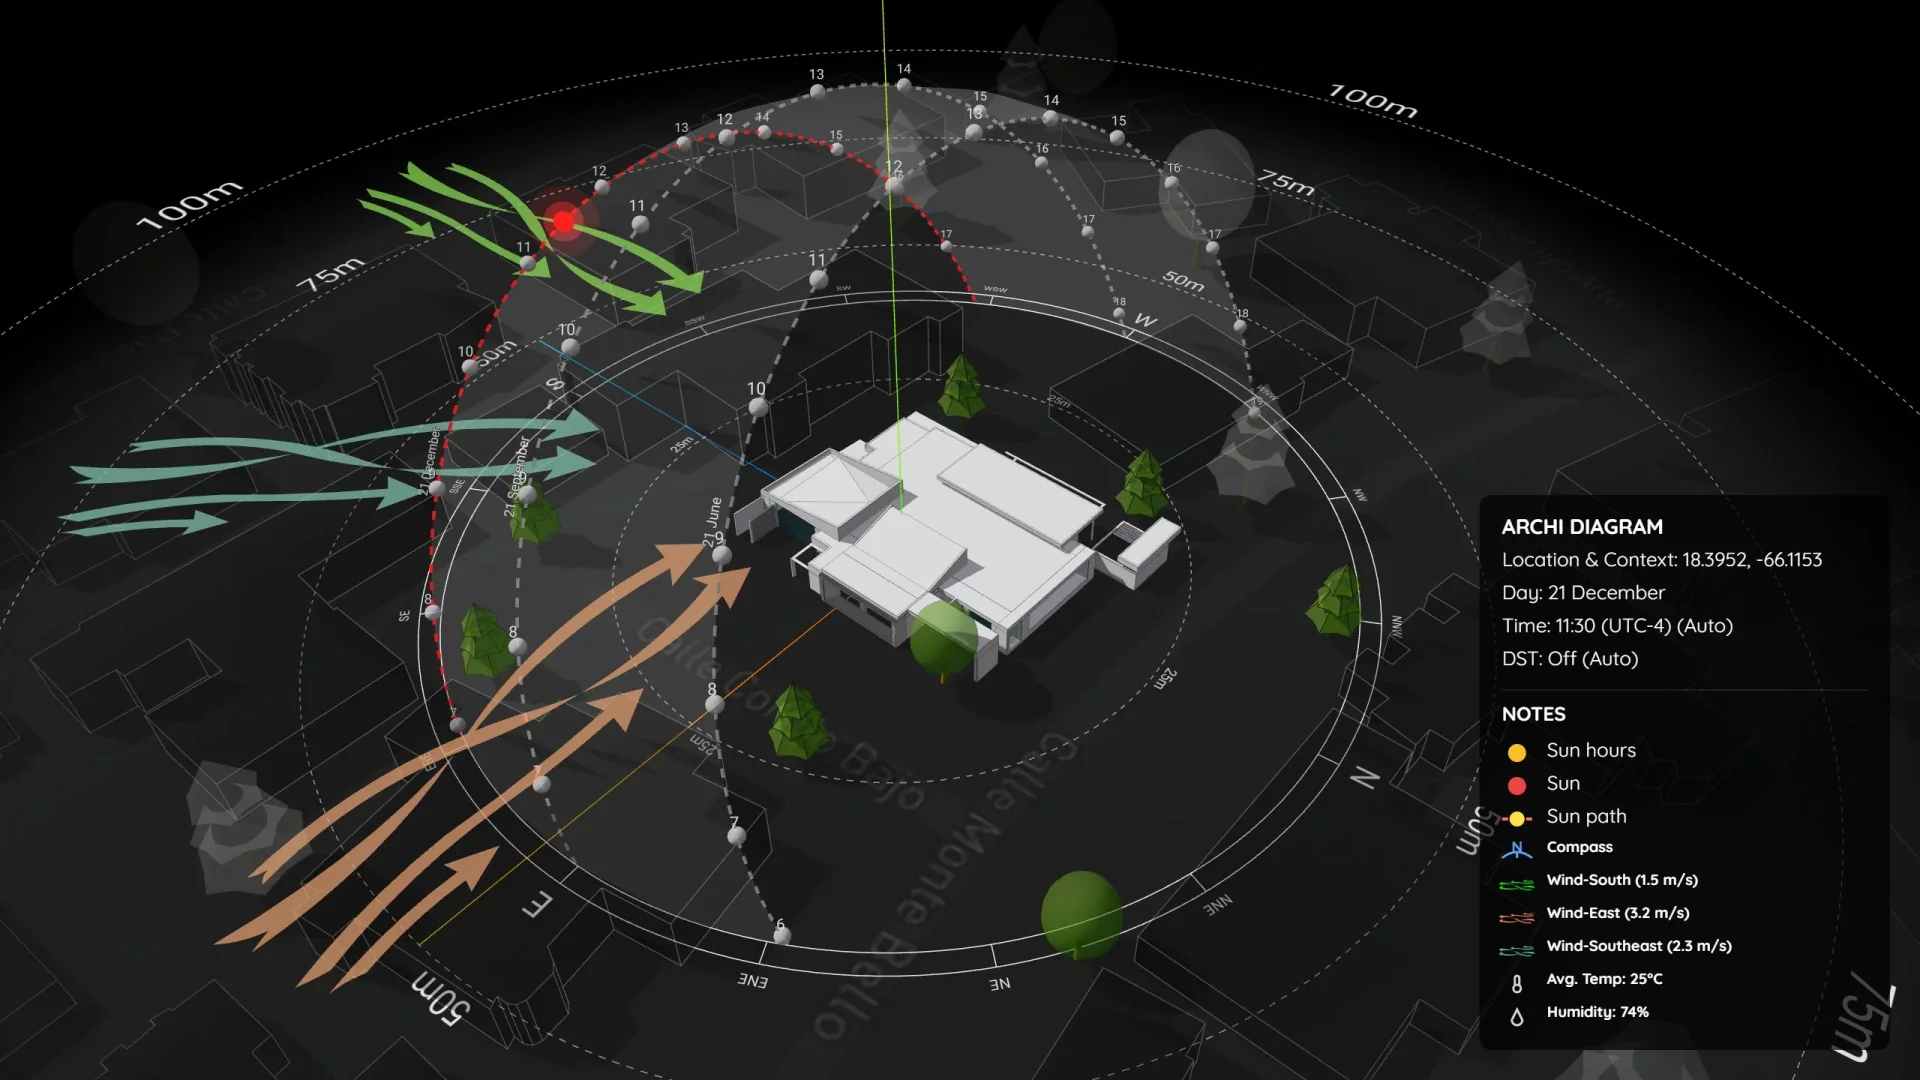
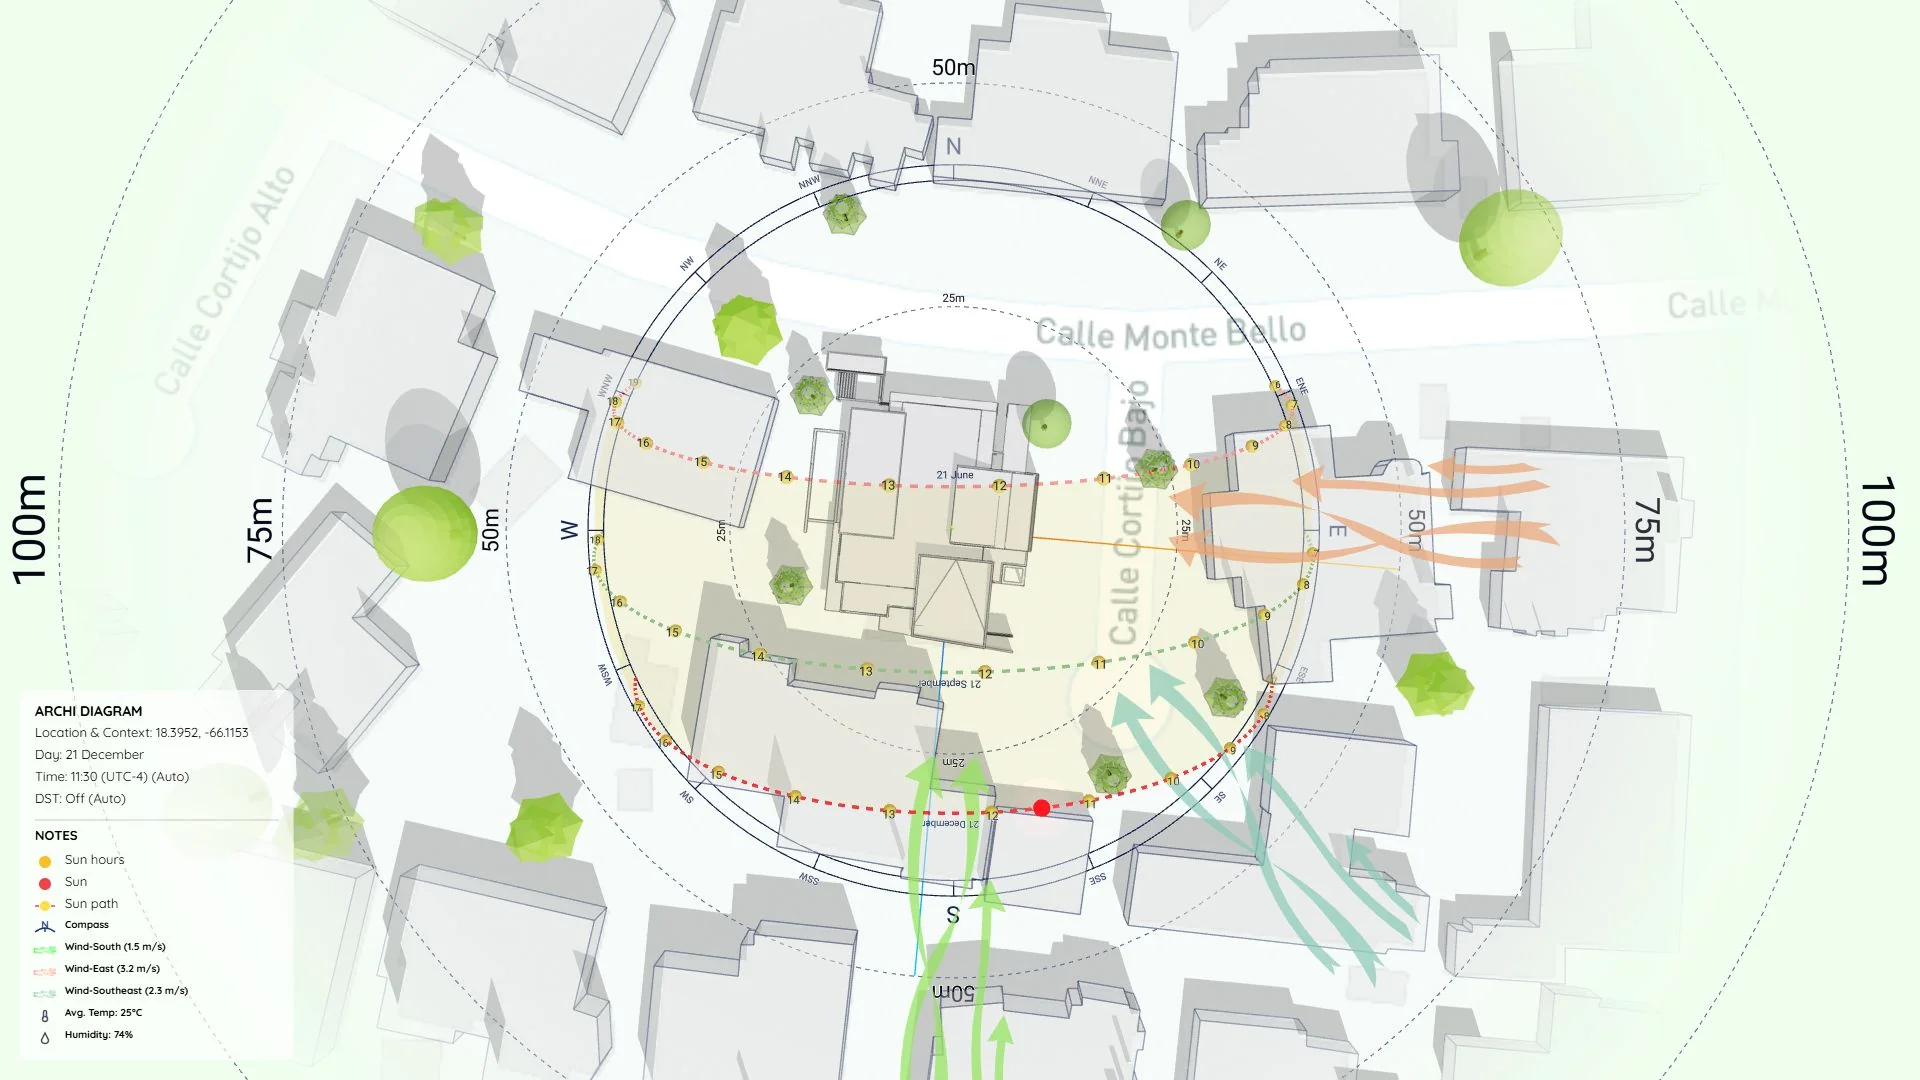
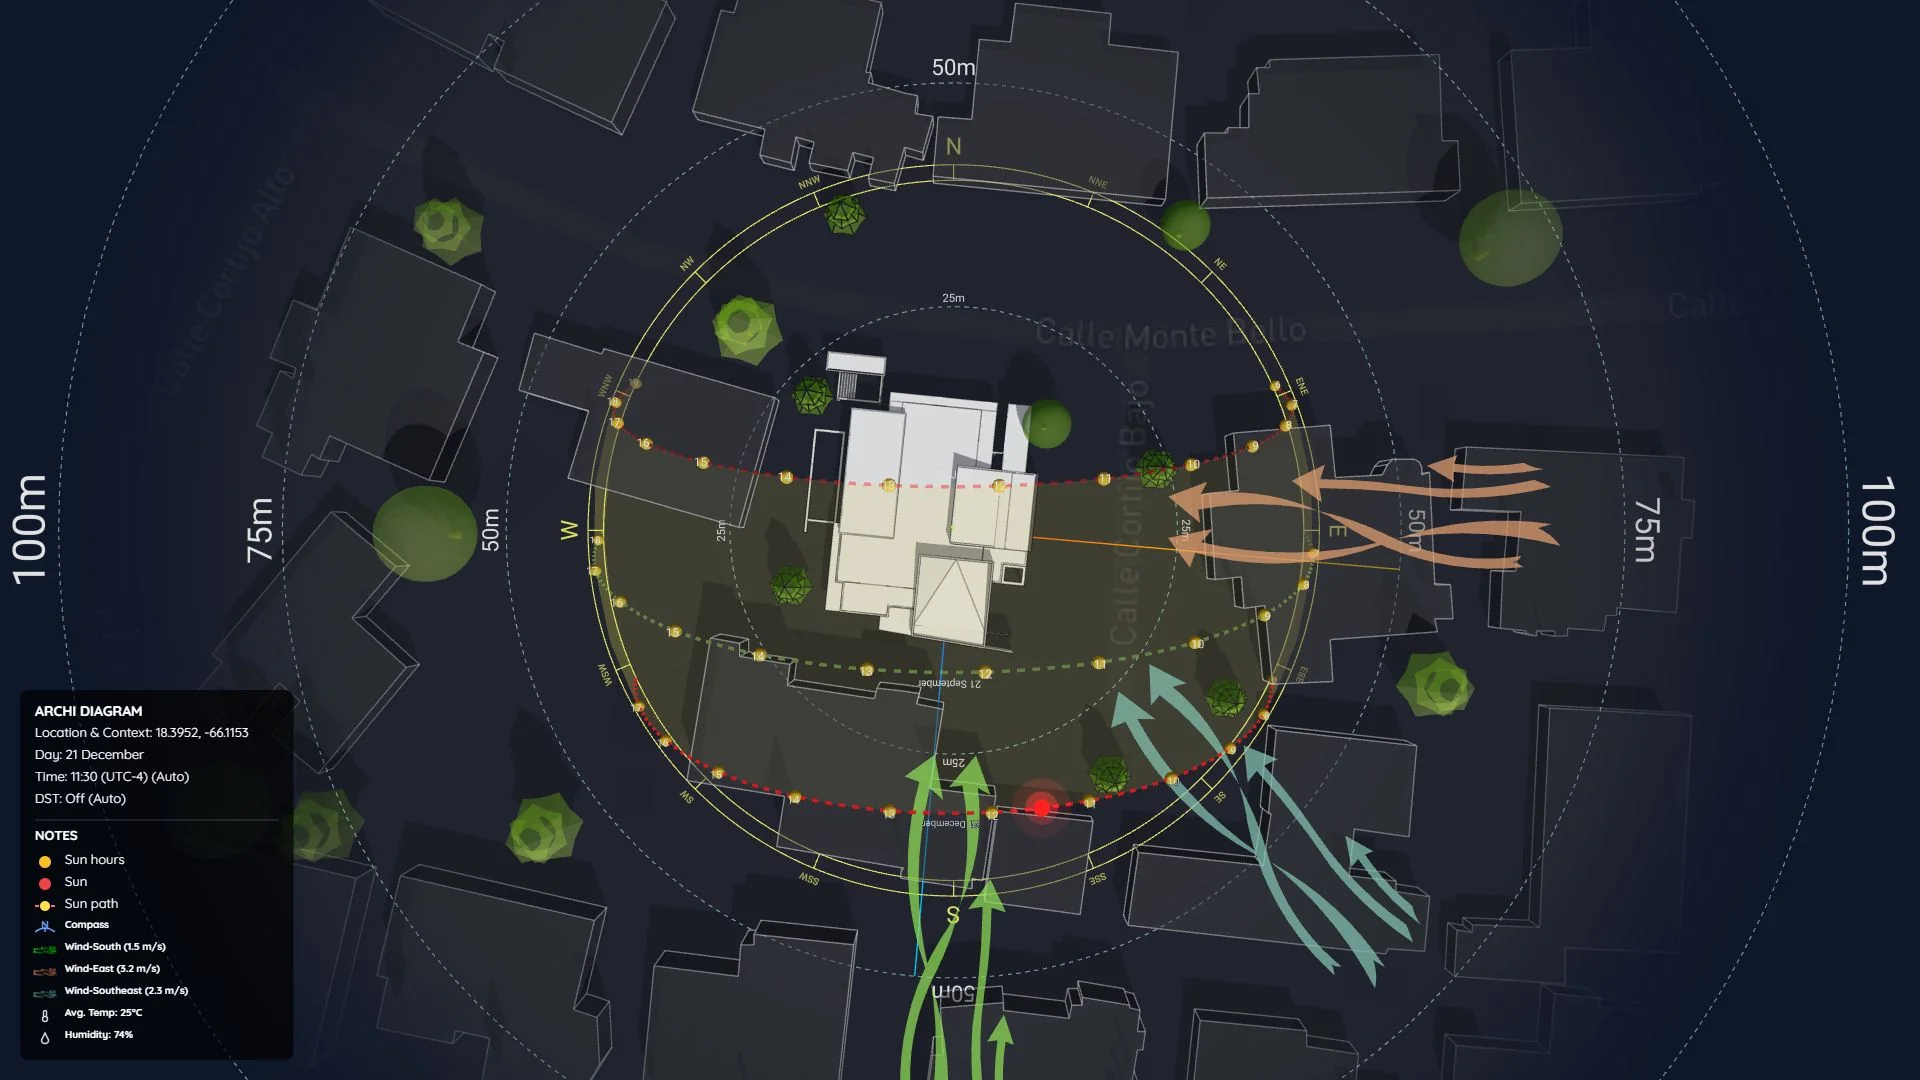
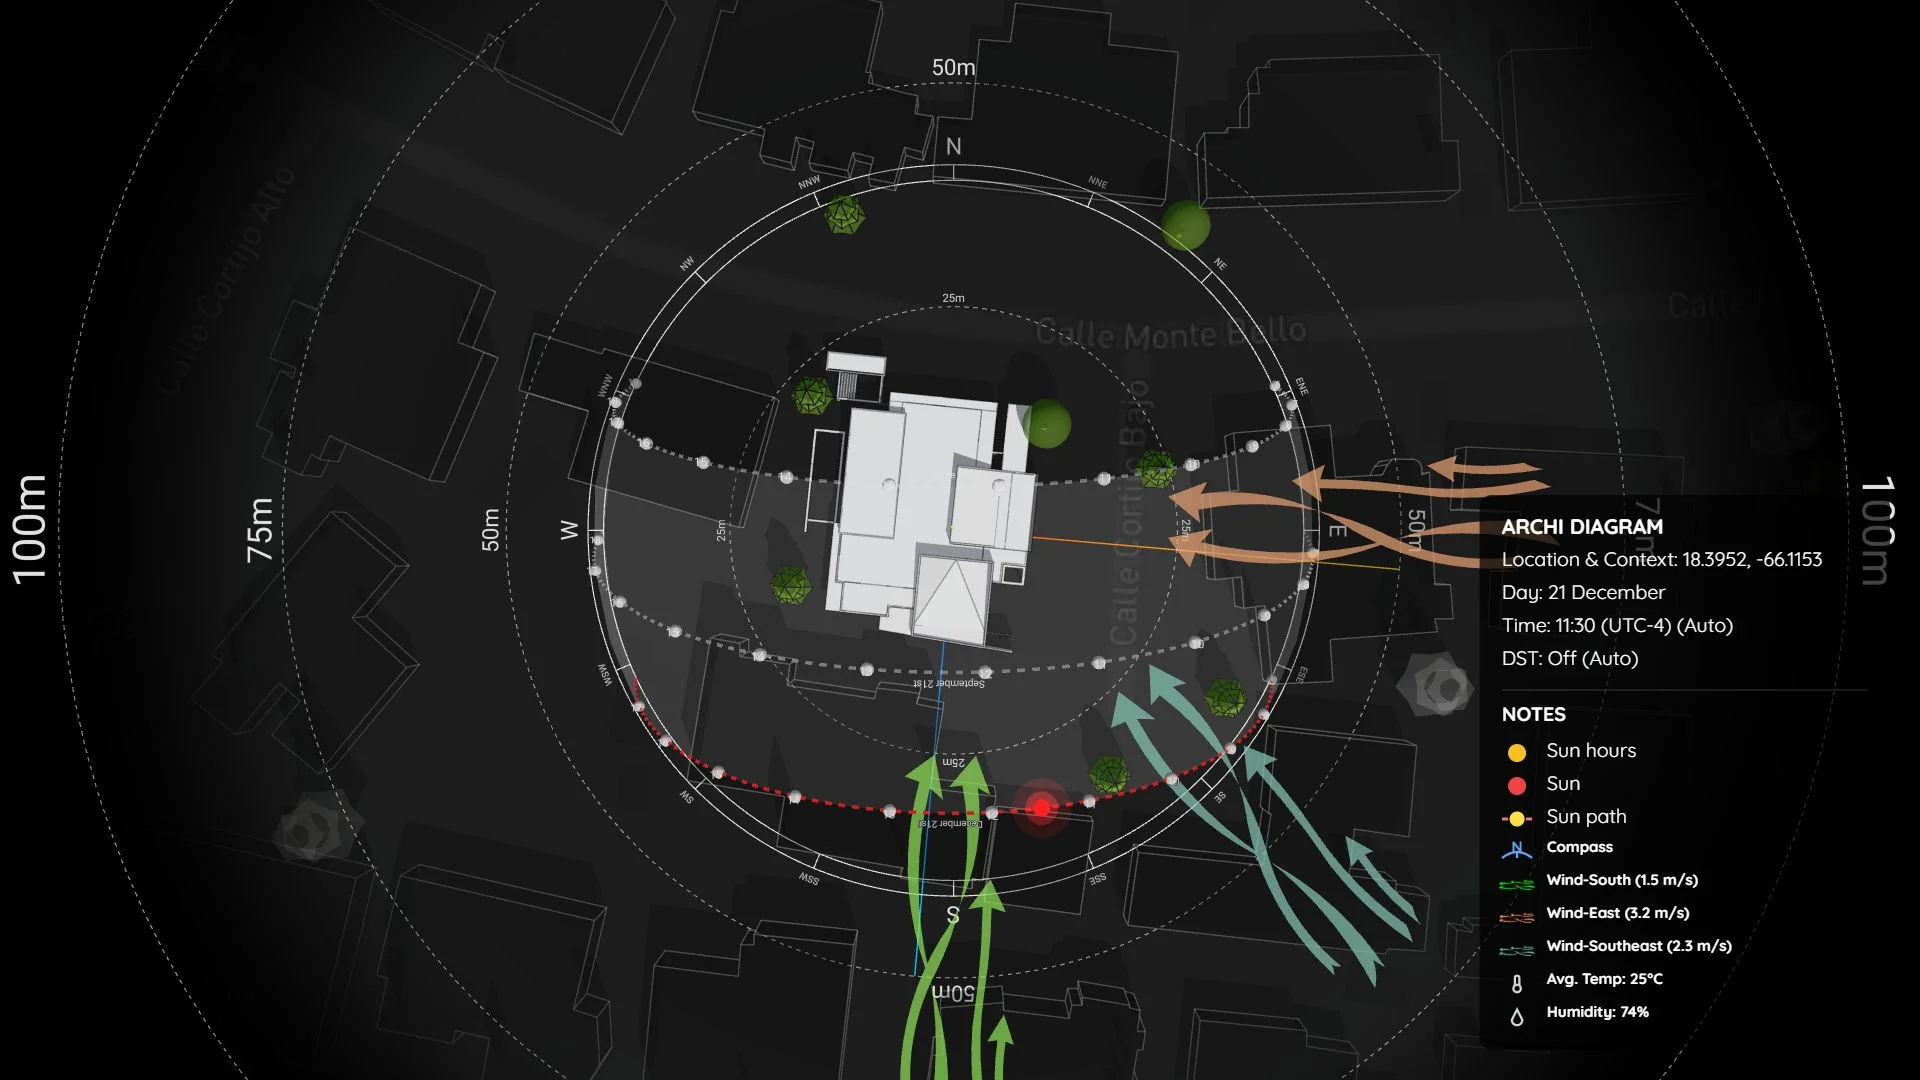
Below are examples of Sample-53 exported across different built-in Diagram Styles (Clean Light, Default Dark, and Monochrome) in both 3D Perspective and Top View:
Open Project: You can explore this exact project and modify it yourself.