

Tutorial: Create an Architectural Diagram using SketchUp
Looking to create animated architectural diagrams? This guide walks you through our complete updated workflow.
We’ll cover everything from pulling in real-world site data to exporting animated shadow and wind studies. Best of all, we’re doing this entirely inside SketchUp using two free plugins: Sun Diagram and Dynamic Symbols.
https://www.youtube.com/watch?v=fqHZ3m-OYug
Applicable for:
- Site analysis diagrams
- Sun path & shadow studies
- Animated architectural presentations
- and more
Softwares used:
- SketchUp: For 3D modeling and scene setup.
- Sun Diagram: sundiagram.com
- Dynamic Symbols: dynamicsymbols.com
- Photoshop: For final video compositing.
Browse All Resources & Diagrams
Tutorial (step-by-step guide and videos):
Step 1: Import Terrain and Map Data
Step 2: Generate Contour Lines
Step 3: Create a 3D Sun Path using Sun Diagram Plugin
Step 4: Add Symbols with Dynamic Symbols Plugin
Step 5: Create a Shadow Analysis using Sun Diagram
Step 6: Generate dynamic symbols to represent the Site analysis
Let’s get started !
STEP 1: Import Terrain and Map Data
https://www.youtube.com/watch?v=BuSYwEcNwWo
- In SketchUp, go to File > Add Location.
- Type in your project address and click Add Context.
- Make sure to check Elevated site, Map texture, and Terrain mesh.
- Highlight your site area and click Import. SketchUp will drop the 3D terrain and satellite map right into your model.
STEP 2: Create Contour Lines
https://www.youtube.com/watch?v=OWTfCmzZ7ww
- Hide everything except the Terrain tag.
- Draw a large flat rectangle below the terrain. Duplicate it vertically every 5 or 10 meters (depending on how steep the site is).
- Select all the rectangles and the terrain, right-click, and choose Intersect Faces > With Model. This instantly generates your contour lines!
- Delete the flat faces, leaving just the contour edges.
- Pro-tip: To make the contour lines stand out, lower the opacity of your satellite map texture slightly.
STEP 3: Create a 3D Sun Path with Sun Diagram Plugin
https://www.youtube.com/watch?v=JuIJqWk_S0w
- Install Sun Diagram from the Extension Warehouse.
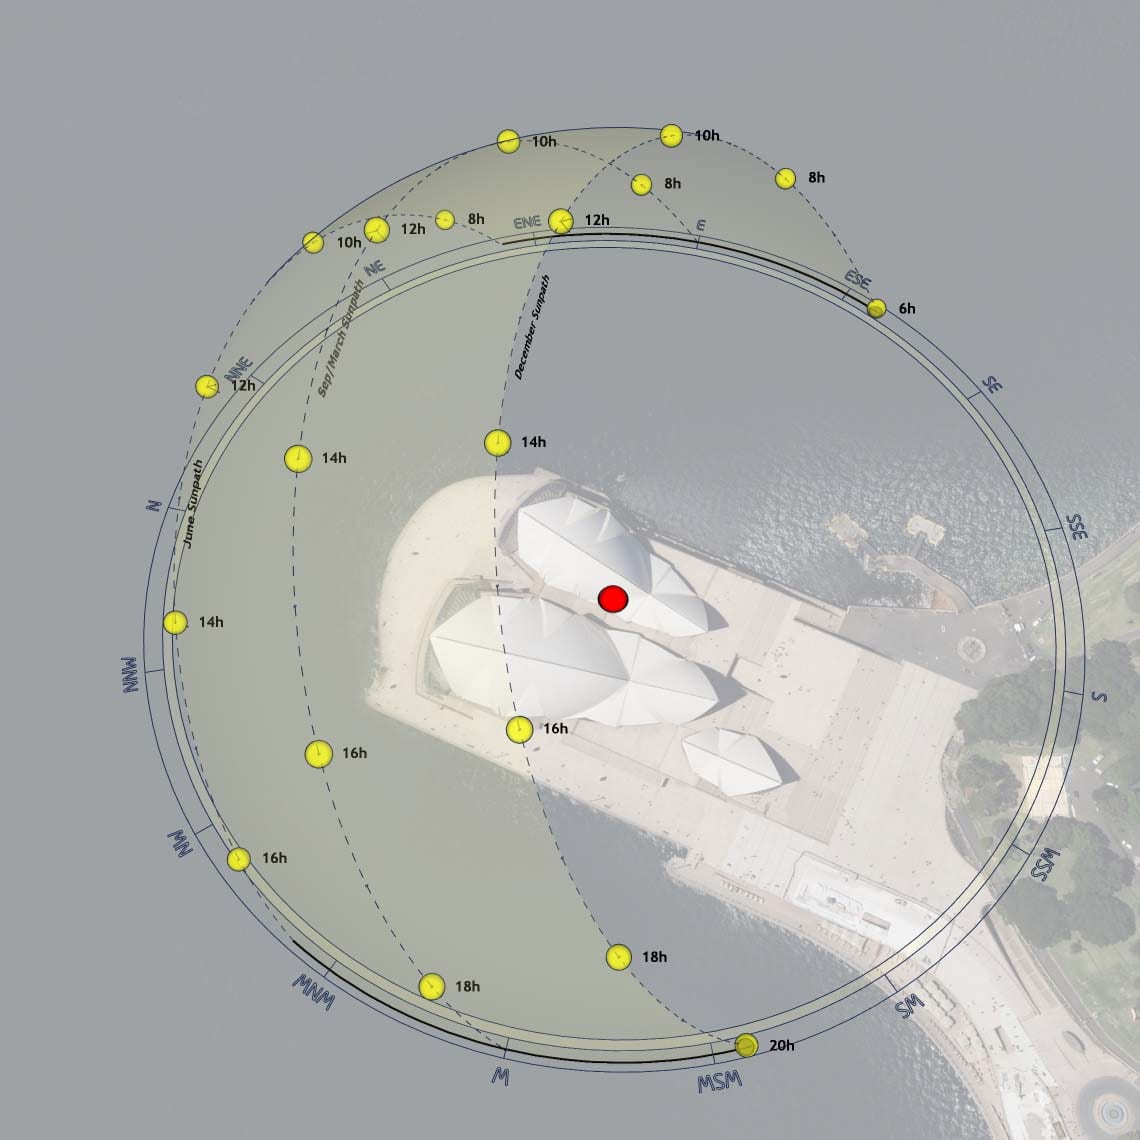
- Click the first tool to generate a 3D Sun Path over your site.
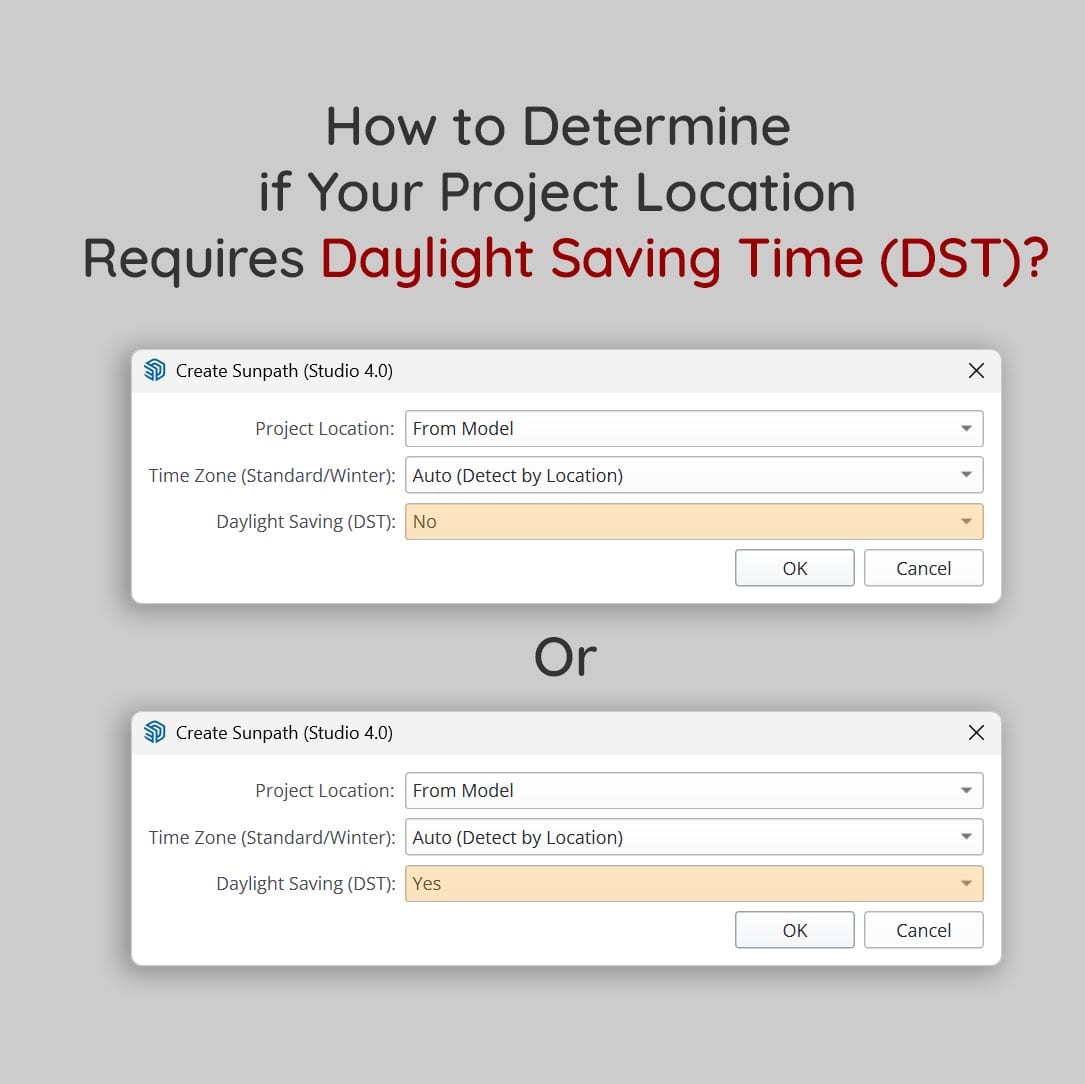
- Important: Make sure to set DST (Daylight Saving Time) correctly for your location.
- Scale and position the sun path graphic so it frames your site nicely (don’t worry, scaling the graphic doesn’t mess up the real shadow math).
- Use the plugin’s style picker to choose a clean look (Style 01 usually works great).
STEP 4: Add Symbols (Wind, Views, etc.) with Dynamic Symbols Plugin
https://www.youtube.com/watch?v=VOl67HeTK8M
- Install Dynamic Symbols from the Extension Warehouse.
- Open the symbol library and click Add on the symbols you need (wind arrows, view cones, nodes, etc.).
- Scale and rotate them into place on your terrain.
- You can easily re-color them using the plugin’s color tool, or just apply standard SketchUp materials.
STEP 5: Create a Shadow Analysis using Sun Diagram
https://www.youtube.com/watch?v=XfVejlkLRRA
- Temporarily turn off your Dynamic Symbols tag so the shadows are clean.
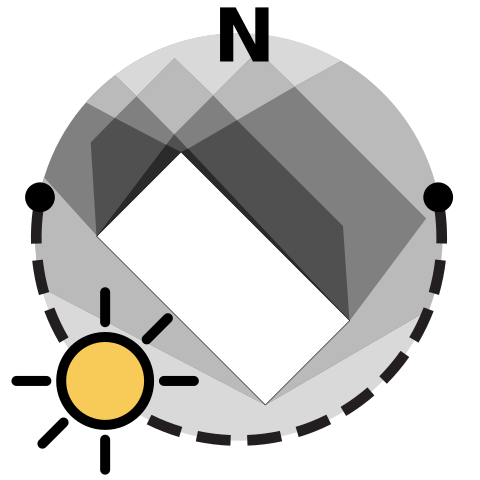
- Open Sun Diagram’s Shadow Analysis tool (the 3rd icon).
- Pick your time range (e.g., 9 AM to 3 PM) and output resolution.
- Click Apply. The plugin will automatically save an image sequence of the shadows moving across your site.
- Tip: Repeat this for June, September, and December to get a full yearly study.
STEP 6: Combine Images and Videos into a Final Animated Diagram
https://www.youtube.com/watch?v=XDDJ7J3_zsE
- Now, turn off everything else and turn your Dynamic Symbols back on.
- Select your symbols and use Function 2 of the plugin to Create Scenes. This generates the animation frames.
- Export this as an MP4 video (
File > Export > Animation). Make sure to uncheck “Loop to starting scene”. - Open Photoshop (or Premiere/CapCut). Load your shadow image sequence and convert it to a video timeline.
- Drop your Dynamic Symbols video layer on top of the shadow video layer.
- Set the blending mode of the symbol layer to remove its white background (or use blending options to pull back the white slider).
- Export your final composite!
Final Result
https://www.youtube.com/watch?v=fqHZ3m-OYug
All Resources used in the tutorial are included
Want to follow along or try it yourself? Download the exact 2D and 3D project files we use in this tutorial:
💡 Note: You can use the Direct Download for instant, hassle-free access. If you find these tutorials helpful and would like to support my work, you can download them via Gumroad (where you can enter $0 or leave a small tip).
That’s it! 🎉 You now have a complete architectural diagram animation combining Sun Diagram and Dynamic Symbols.
If you found this tutorial useful:
👉 Leave a comment and share your results.
👉 Follow us to get updates on new workflows and free resources.